Clean oak cabinets properly and you keep the grain intact for years. Rush it with a wet rag and fine grit scratches the finish before you have finished the first door.
The real cost is patience: about an hour for a full deep clean, plus the discipline to dry every seam immediately after. Most people skip the dry dusting step, and that is where the damage starts.
1. Clear and Dust the Cabinets
The first time I cleaned oak cabinets, I skipped the dry dusting and went straight in with a damp rag. Fine grit on the surface left hairline scratches in the finish that caught the light for months after.
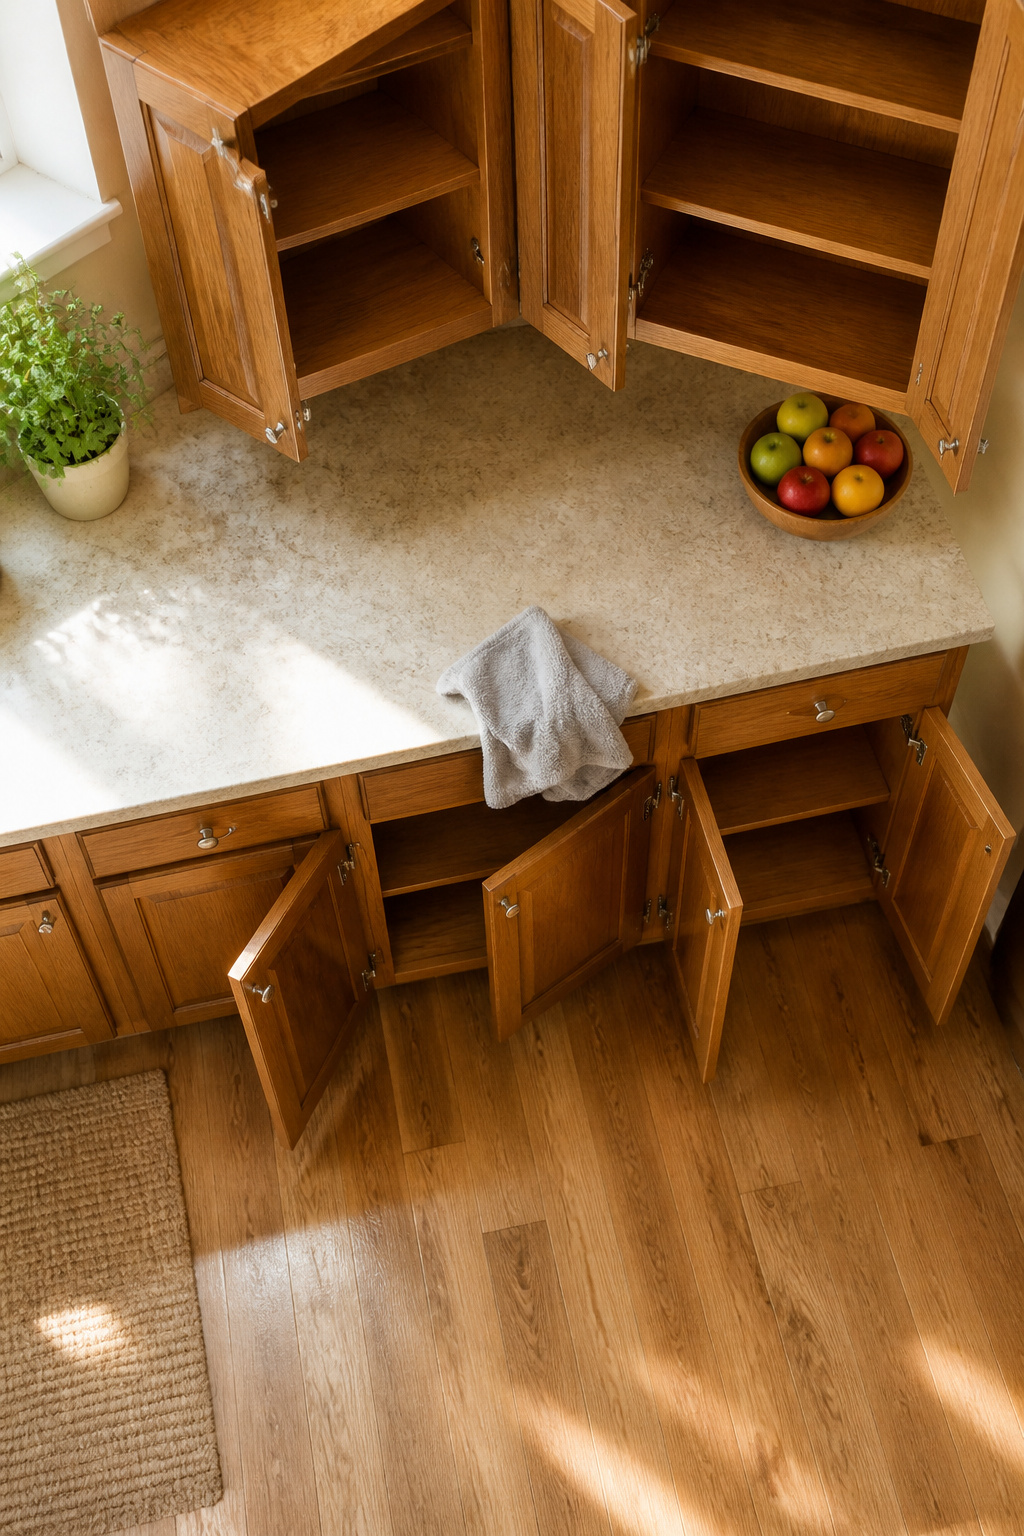
Dust with a dry microfiber cloth before any liquid touches the wood; debris acts like sandpaper once it gets wet and dragged across the grain.
Remove everything from the counters and open the doors so you can reach the interior shelves and the door backs where grease settles heaviest.
A dry microfiber cloth or soft rag picks up dust, cobwebs, and loose dirt from the corners and top surfaces without embedding anything in the finish. Save the spray bottle for the next step.
Recommended Products

CABINET & FURNITURE CLEANER: Removes dirt, grime & grease buildup

FORMULATED FOR YOUR MOST CHERISHED WOOD FURNITURE PIECES & CABINETS: Weiman Cabinet & Wood Clean & Shine cleans and restores shine and beauty to your kitchen and home cabinets and wood furniture. No oily, greasy residue left behind!

FORMULATED FOR YOUR MOST CHERISHED WOOD FURNITURE PIECES & CABINETS: Weiman Cabinet & Wood Clean & Shine cleans and restores shine and beauty to your kitchen and home cabinets and wood furniture. No oily, greasy residue left behind!
2. Mix the Cleaning Solution
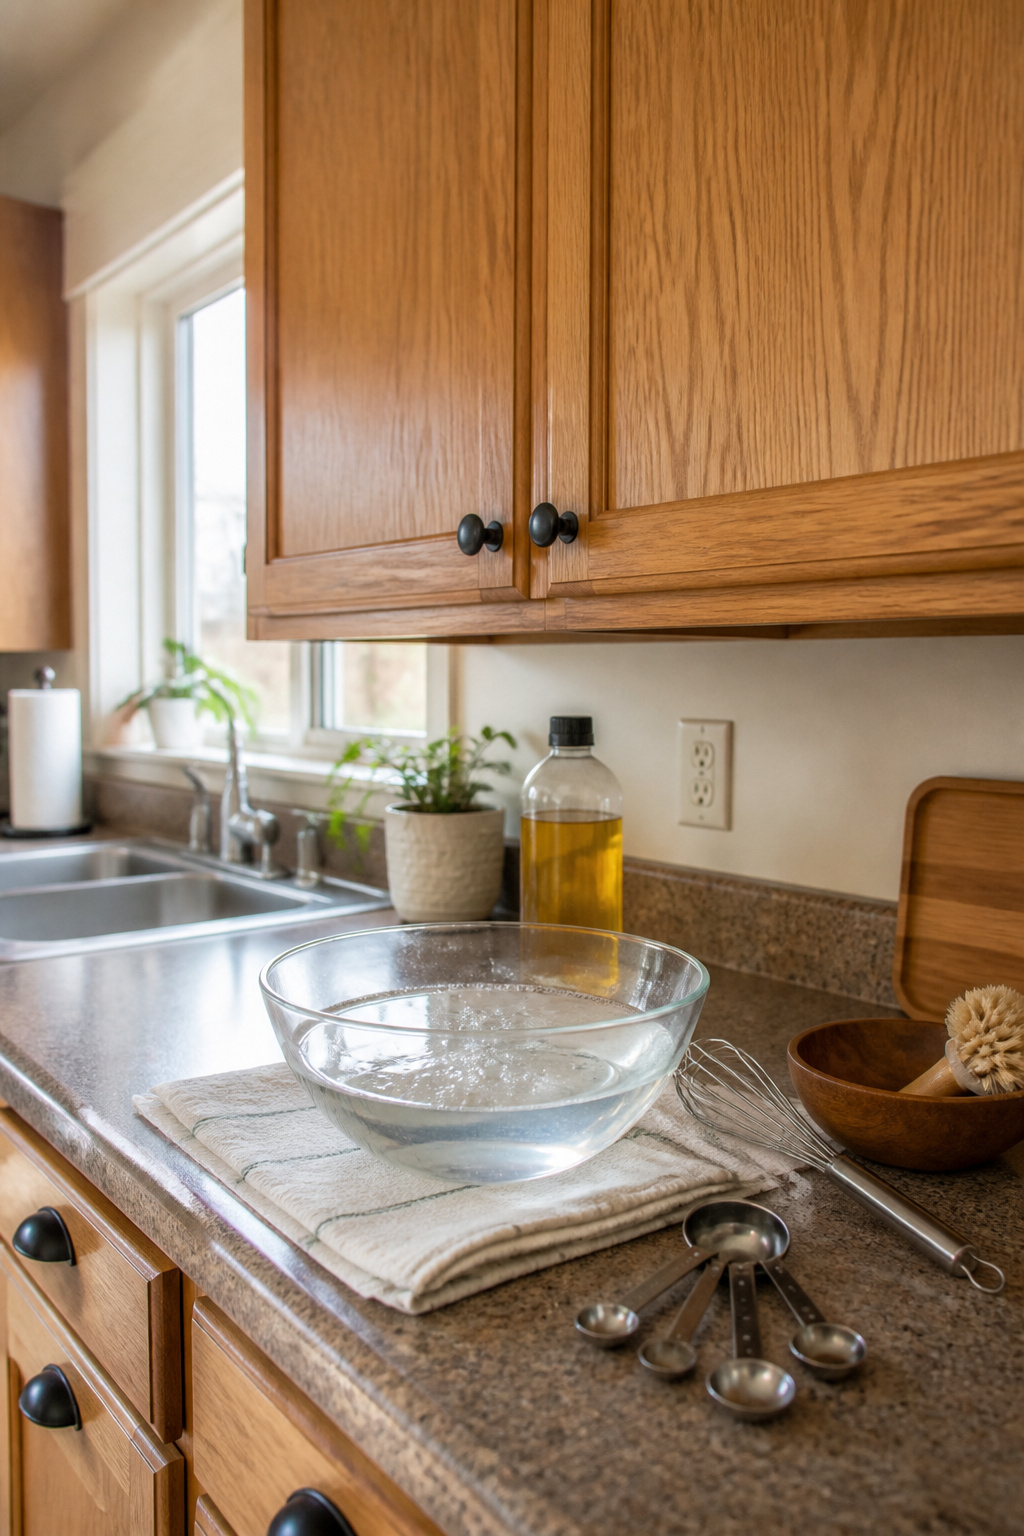
Warm water and a few drops of mild dish soap per cup is the baseline that works for most oak cabinets. The soap lifts grease without stripping anything, and the low concentration matters more than the brand.
Too much soap leaves residue that dulls the grain, so sudsy but barely-there is the target.
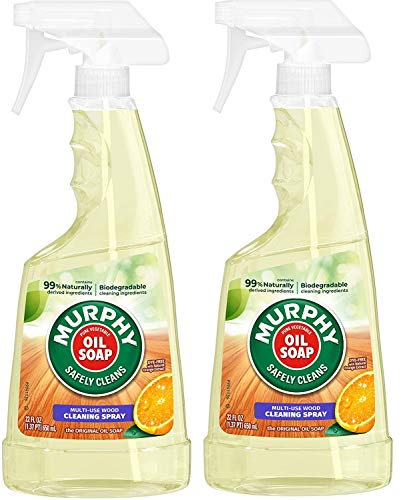
Murphy’s Oil Soap is the move when the buildup has gone past what dish soap handles.
Dilute it to the label ratio, which runs stronger than the dish-soap mix, and it pulls years of grime off oak without raising the grain.
It still needs a rinse pass with plain water afterward, then drying, same as any cleaner.
The choice between them is really a choice of how dirty the cabinets are. Dish soap for the quarterly wipe-down, Murphy’s for the deep clean that happens when you finally notice the grime line at the handle edge.
Recommended Products

Safe to use on any wood surface that may come into contact with food

Product Type:Grocery

POWERED BY ENZYMES: Removes up to 99% of grease, with 50% less scrubs and 25% more suds* (*vs. original method dish soap)
3. Wipe Down the Exterior
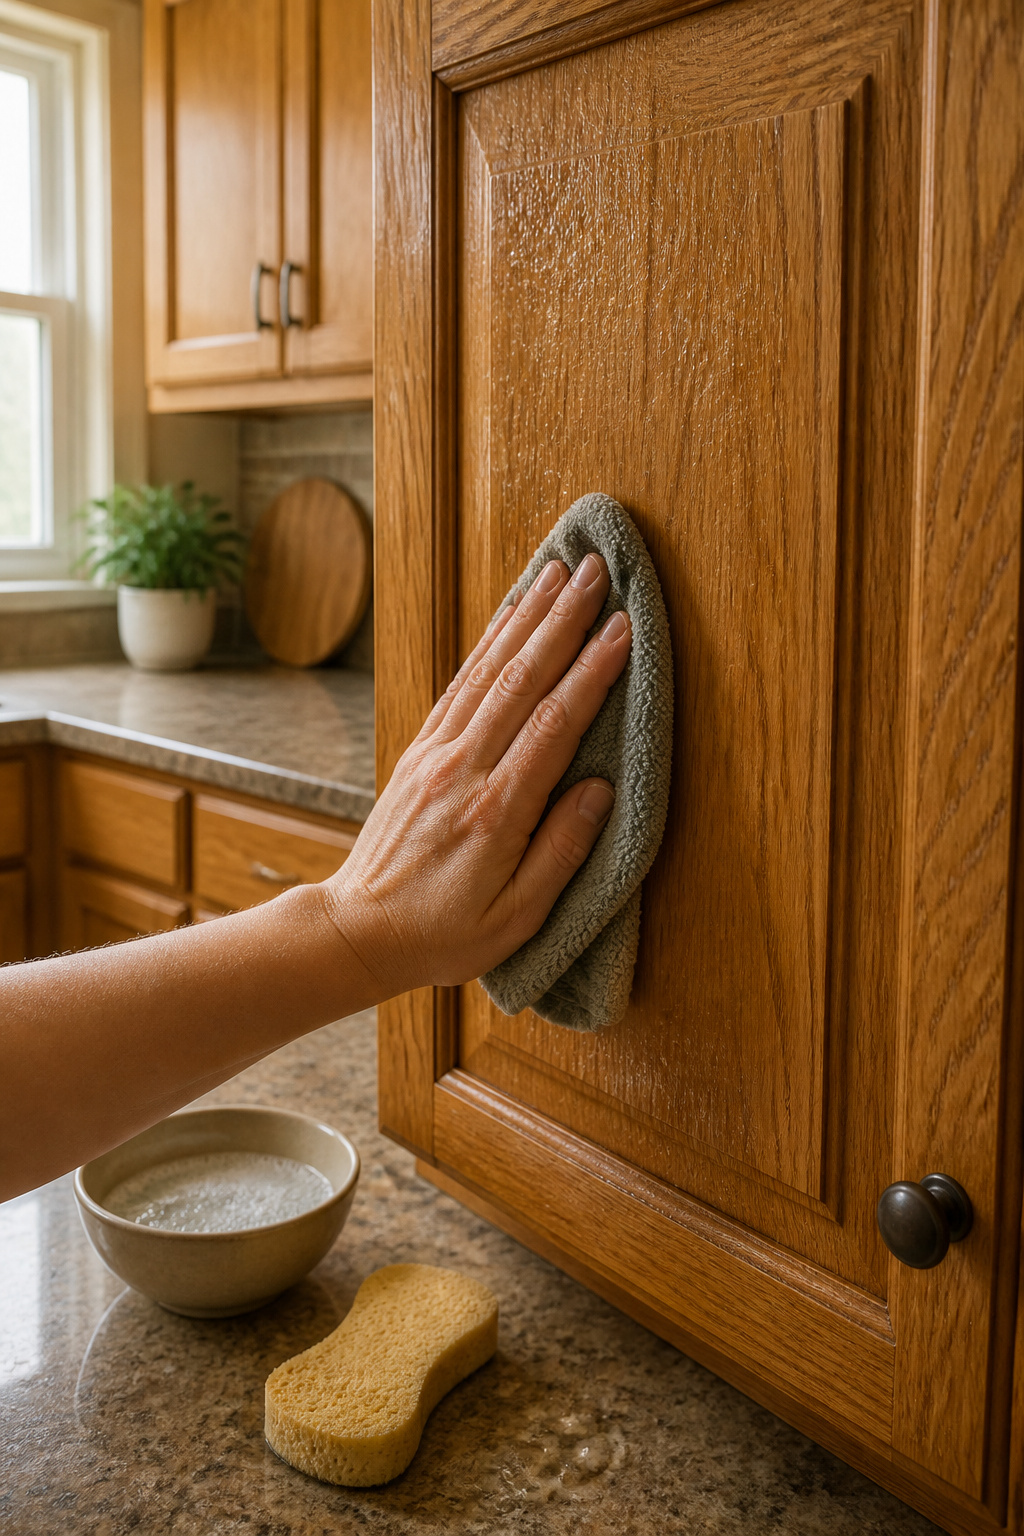
A damp cloth cleans oak better than a wet one. Water soaks into the grain and swells the wood, so I wring the sponge until it barely drips before it touches the cabinet.
The frames, doors, and hardware all get the same pass, working with the oak’s natural grain pattern instead of scrubbing across it.
Each piece of oak carries its own grain direction, usually running the length of the door, and following it lifts grime out of the pores rather than pushing it deeper.
I work in sections small enough that the water never sits long enough to darken the finish. Drawer pulls and the ledges around hinges collect the most buildup, so those spots get extra attention with the same barely-wet cloth.
Wring until the sponge feels only slightly cooler than your hand; if water beads on the surface, you’ve crossed from damp into something riskier.
Recommended Products
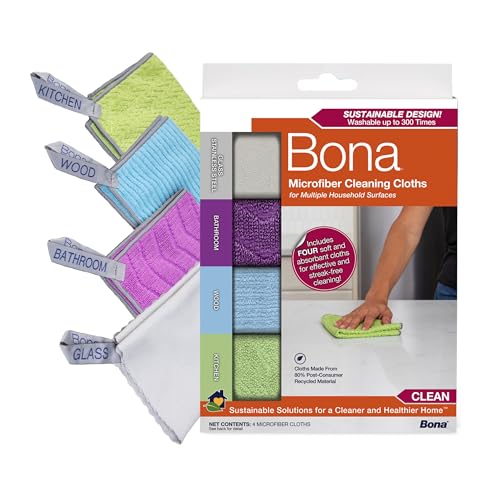
Four unique microfiber cloths for all the surfaces around your home

ULTRA SOFT MATERIAL & SCRATCH FREE - Ultra soft and highly absorbent microfiber cleaning cloths, great for cleaning windows, kitchenware, car or other delicate surfaces.

10x GRIP-ROOT WEAVE - TRAP MORE, WORK LESS: Ultra-absorbent microfiber towels for car Grip Root weave works like PLANT ROOT FOLLICLES, sucking up & LOCKING AWAY 8x to 10x its weight in liquid, particulates, moisture, grime and dirt in far LESS TIME than traditional ‘Heavy Duty’ Cleaning Rags. Each towel features a 2.5mm thick design, providing enhanced durability and better grip during use.
4. Rinse and Dry Immediately
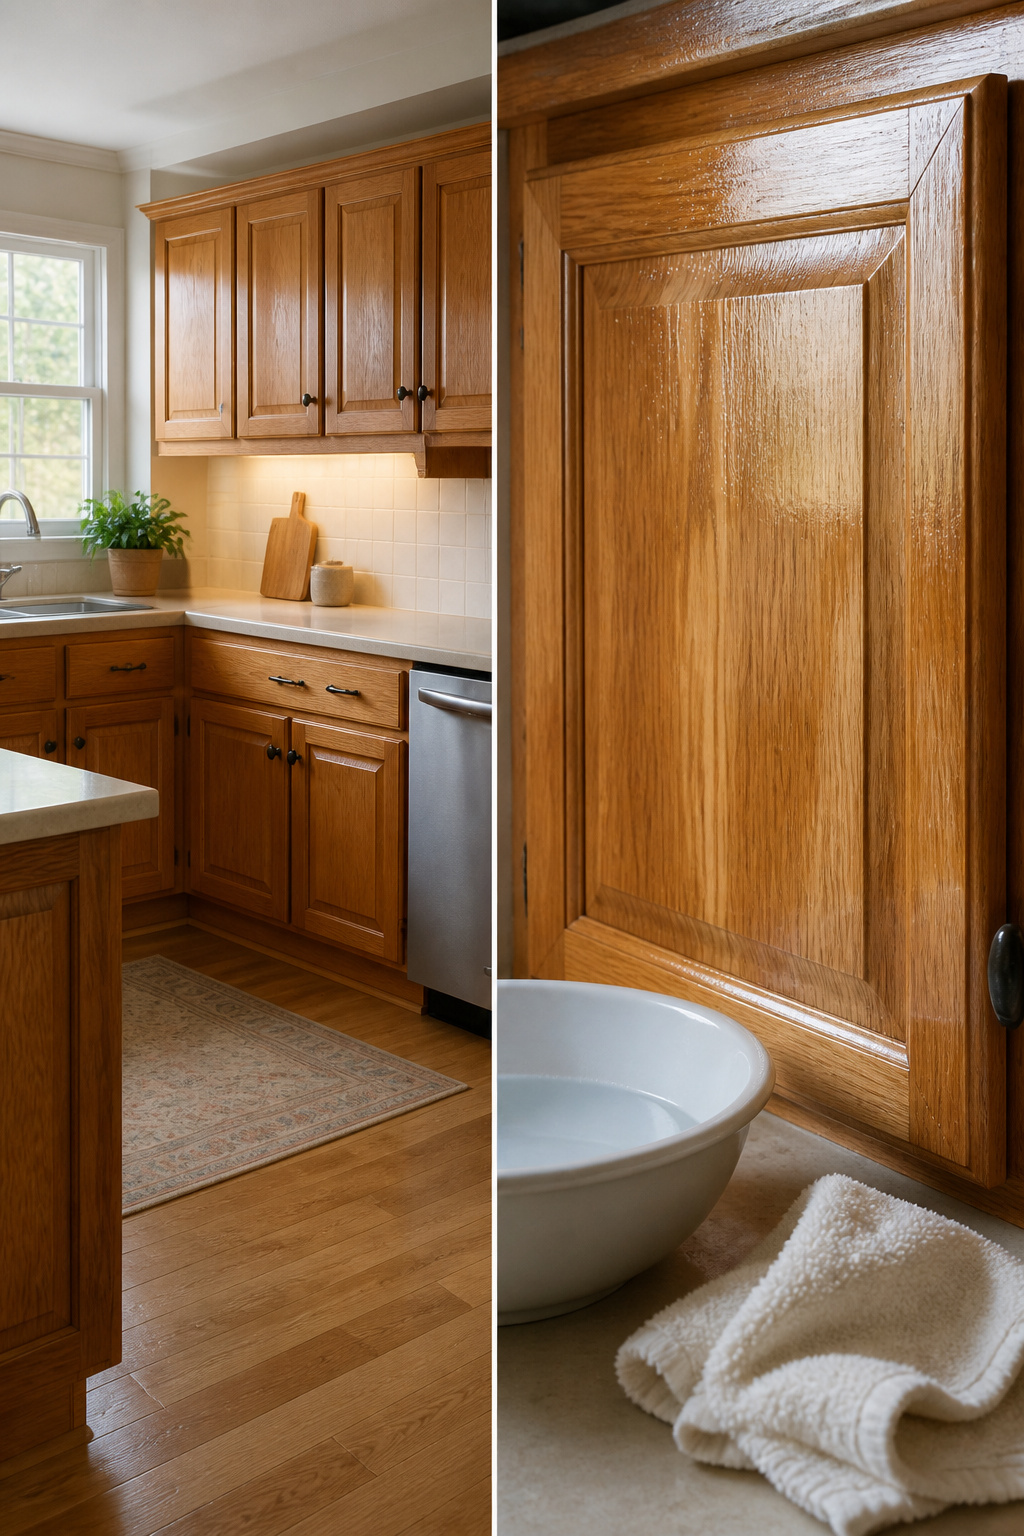
A clean, damp cloth picks up the soap residue without flooding the grain. Oak is a closed-grain hardwood, but that does not make it waterproof.
Water that pools at joints or seams seeps in, softens the wood, and sets up the damp conditions where mold can take hold. I run the cloth in one direction, flip to a dry side, and move on.
The dry cloth matters as much as the damp one. It should be soft, absorbent, and free of lint that might stick to damp finish.
Terry cotton works; a worn flour-sack towel works better. What you want is fabric that pulls moisture off the surface rather than pushing it around.
Dry cabinet doors, drawer fronts, frames, and edges immediately after rinsing, then check the seams again. If the cloth comes away damp on a second pass, keep going.
Air drying leaves too much time for damage.
Recommended Products

Safely cleans wood.

Three 32 fl oz bottles of Murphy Oil Soap wood cleaner, Concentrated Formula, Citronella Oil Scent

Old English Lemon Oil helps protect wood surfaces
5. Treat Stubborn Stains
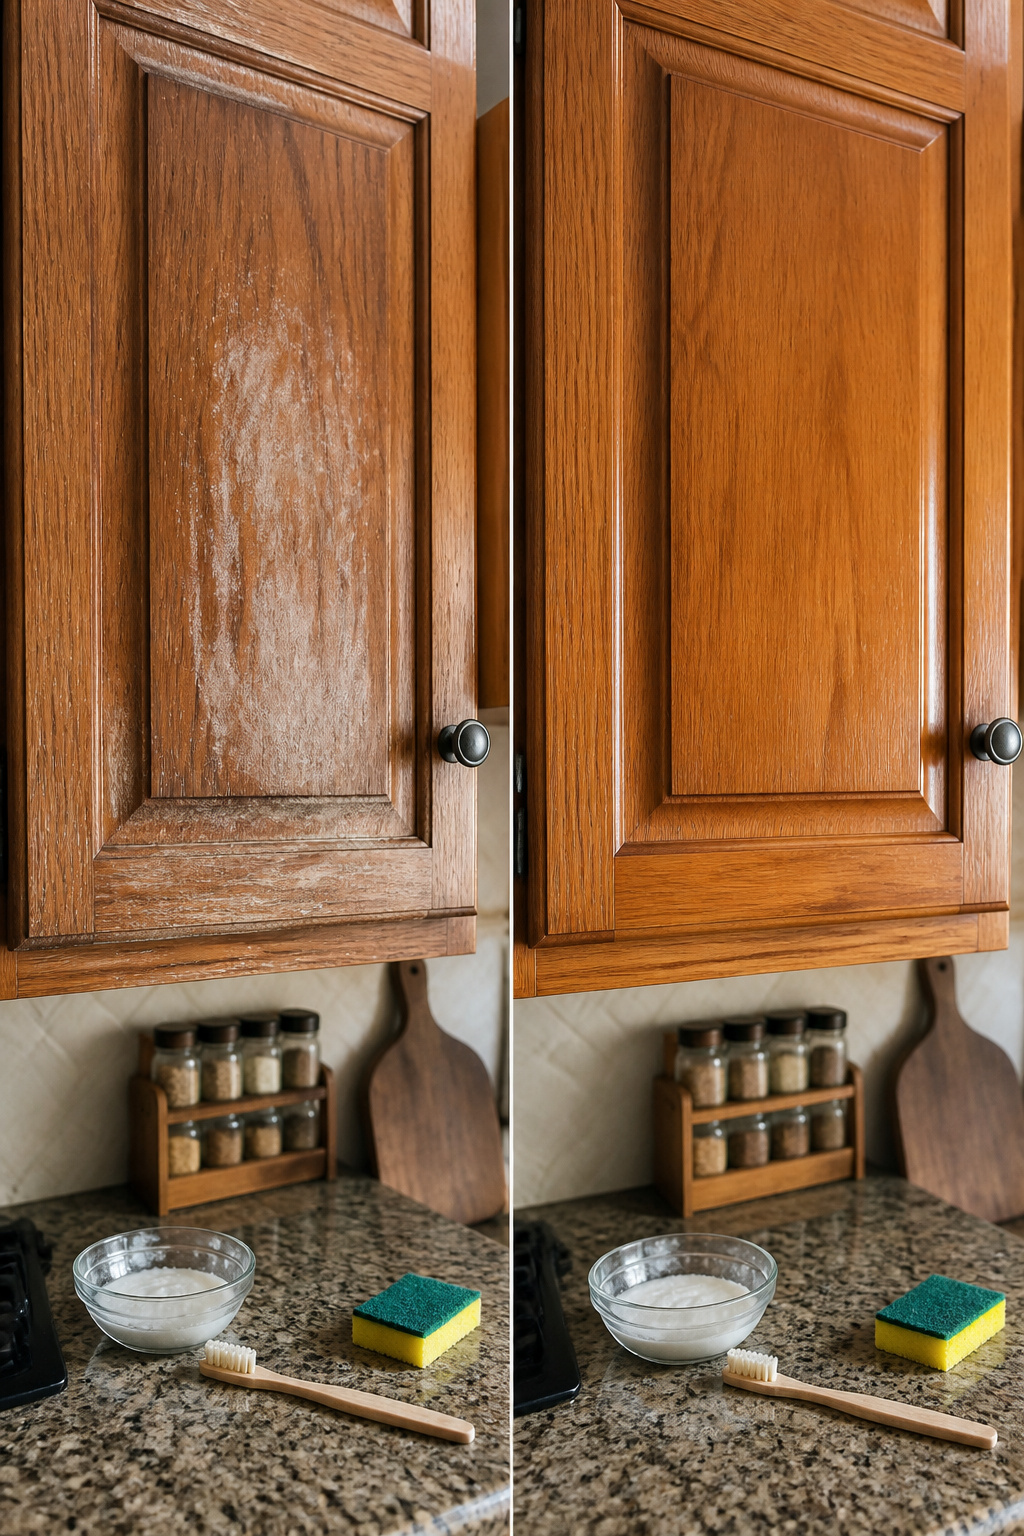
Some stains refuse to lift with the usual soapy wipe, especially the grease that collects near the stove, around hardware, and under the range hood.
For those spots, a paste of baking soda and water will do more than liquid alone. Spread it on, let it sit a few minutes, then work it gently with a soft sponge or an old toothbrush.
A 1:1 solution of vinegar and water handles lighter grease too, sprayed on and wiped soon after. Vinegar is acid, and acid left sitting will eat at the finish.
Before either treatment, test on the inside of a door or another hidden spot. The finish on oak cabinets varies enough that what works in one kitchen can dull another.
I check the test area after it dries, looking for any cloudiness or color shift. Only then do I move to the visible surface.
Recommended Products

KITCHEN CABINET DEGREASER THAT WON'T STRIP THE FINISH - Built on 50 years of family cabinet refinishing, not by a chemical company. This cabinet cleaner degreaser lifts cooking grease off wood and painted cabinets without attacking the factory coating underneath.
Cleans years of built-up grease and food stains from kitchen cabinets without harsh chemicals or sticky residue

Cleans years of built-up grease and food stains from kitchen cabinets without harsh chemicals or sticky residue
6. Restore the Finish
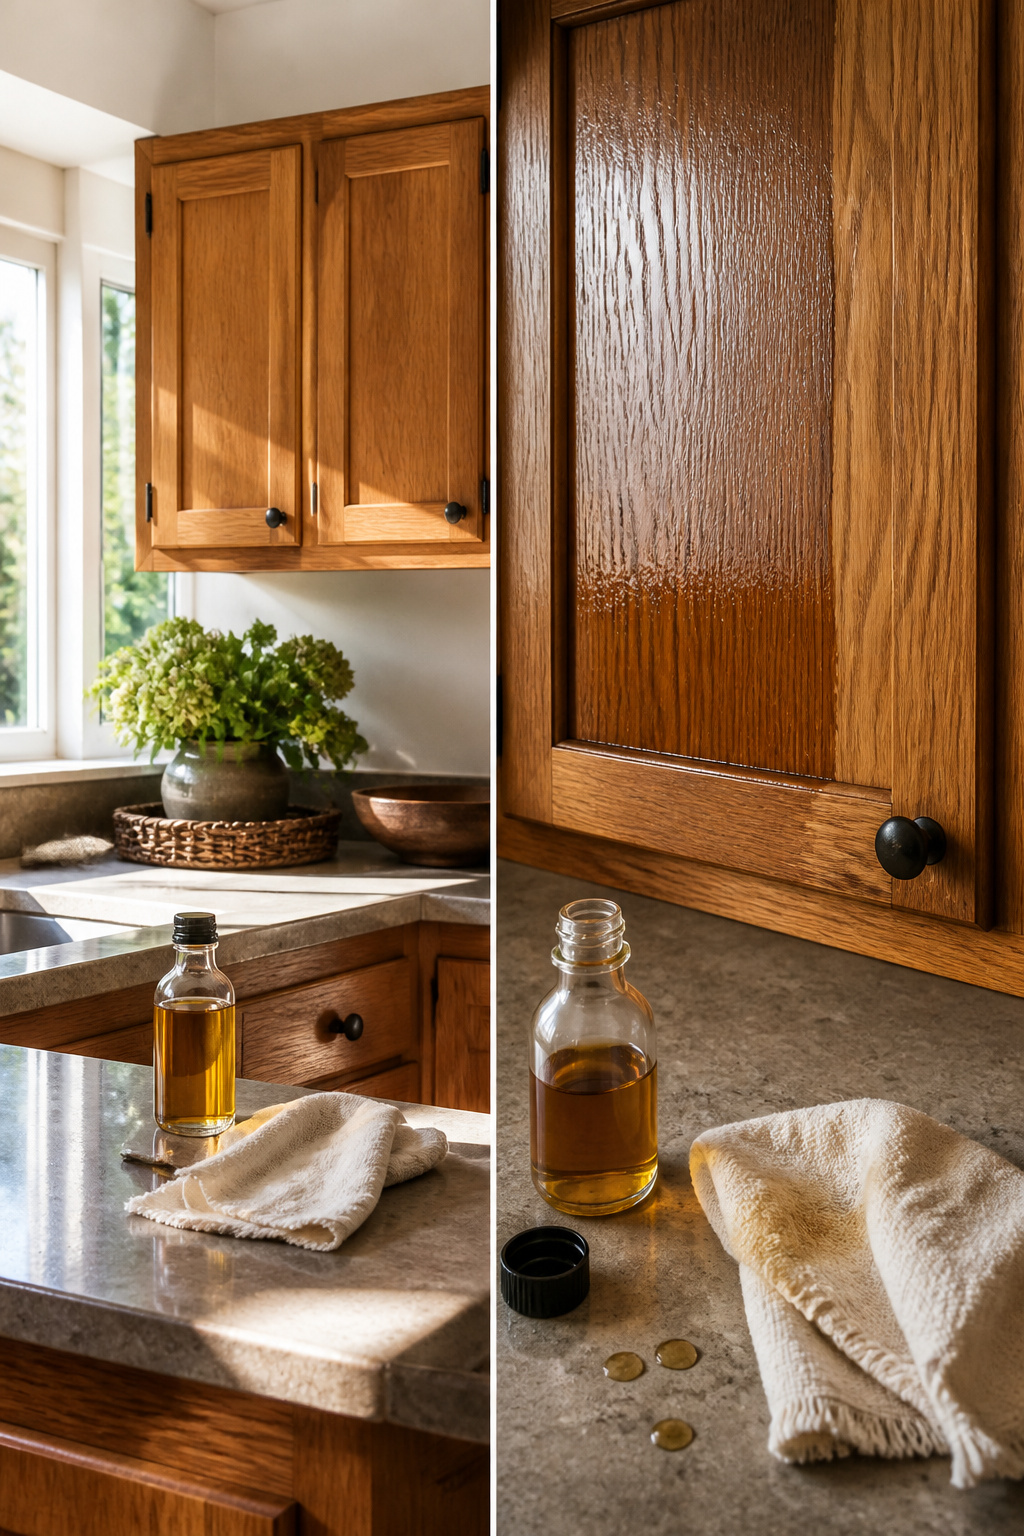
Dull oak that still has its finish intact usually just needs a coat of natural oil rather than a full re-stain.
The difference is easy to spot: if the grain still shows through evenly and there is no bare wood, cleaning followed by oiling will bring back the warmth.
Tung oil or linseed oil, applied with a clean, dry cloth and worked with the grain, replaces what years of wiping have stripped away.
Wipe off the excess and let it dry overnight before deciding whether a second coat is necessary.
When the finish is actually chipped, peeling, or the color has turned patchy, cleaning alone will not restore the surface. That is the point where re-staining or professional refinishing becomes the honest option.
Cabinet maker George Evageliou, founder and president of Urban Homecraft, recommends Howard Orange Oil Wood Polish for making wood shine again.
The New York Times Wirecutter team found that spraying the oil onto a microfiber or cotton cloth rather than directly onto the cupboards gives better control, then applying it evenly once the surface is completely dry.
Spray the oil onto a microfiber or cotton cloth and apply it evenly over the surface of the wood.
This same cloth-first approach works with any oil you choose: it prevents oversaturation that can darken oak unevenly, especially around handles and corners where buildup shows first.
Recommended Products

Wood Cabinet Cleaner - Parker & Bailey Kitchen Cabinet Cleaner has a safe, easy to use formula that gently works as a degreaser, spot cleaner and build-up remover. Rejuvenate cabinets to their original beauty and natural loo

Complete Cleaning Kit for Effortless Cabinet Care - Everything you need for spotless cabinets in one easy set. This kitchen cabinet cleaner kit includes a precision cleaning brush, and an 8 oz bottle with a calibrated spray top for even coverage. The cabinet cleaner for wood offers a smooth application, while the long-lasting cabinet cleaner degreaser helps you keep your cabinets looking cared for day after day.

Wood Cabinet Cleaner - Parker & Bailey Kitchen Cabinet Cleaner has a safe, easy to use formula that gently works as a degreaser, spot cleaner and build-up remover. Rejuvenate cabinets to their original beauty and natural look
7. Keep Up Regular Maintenance
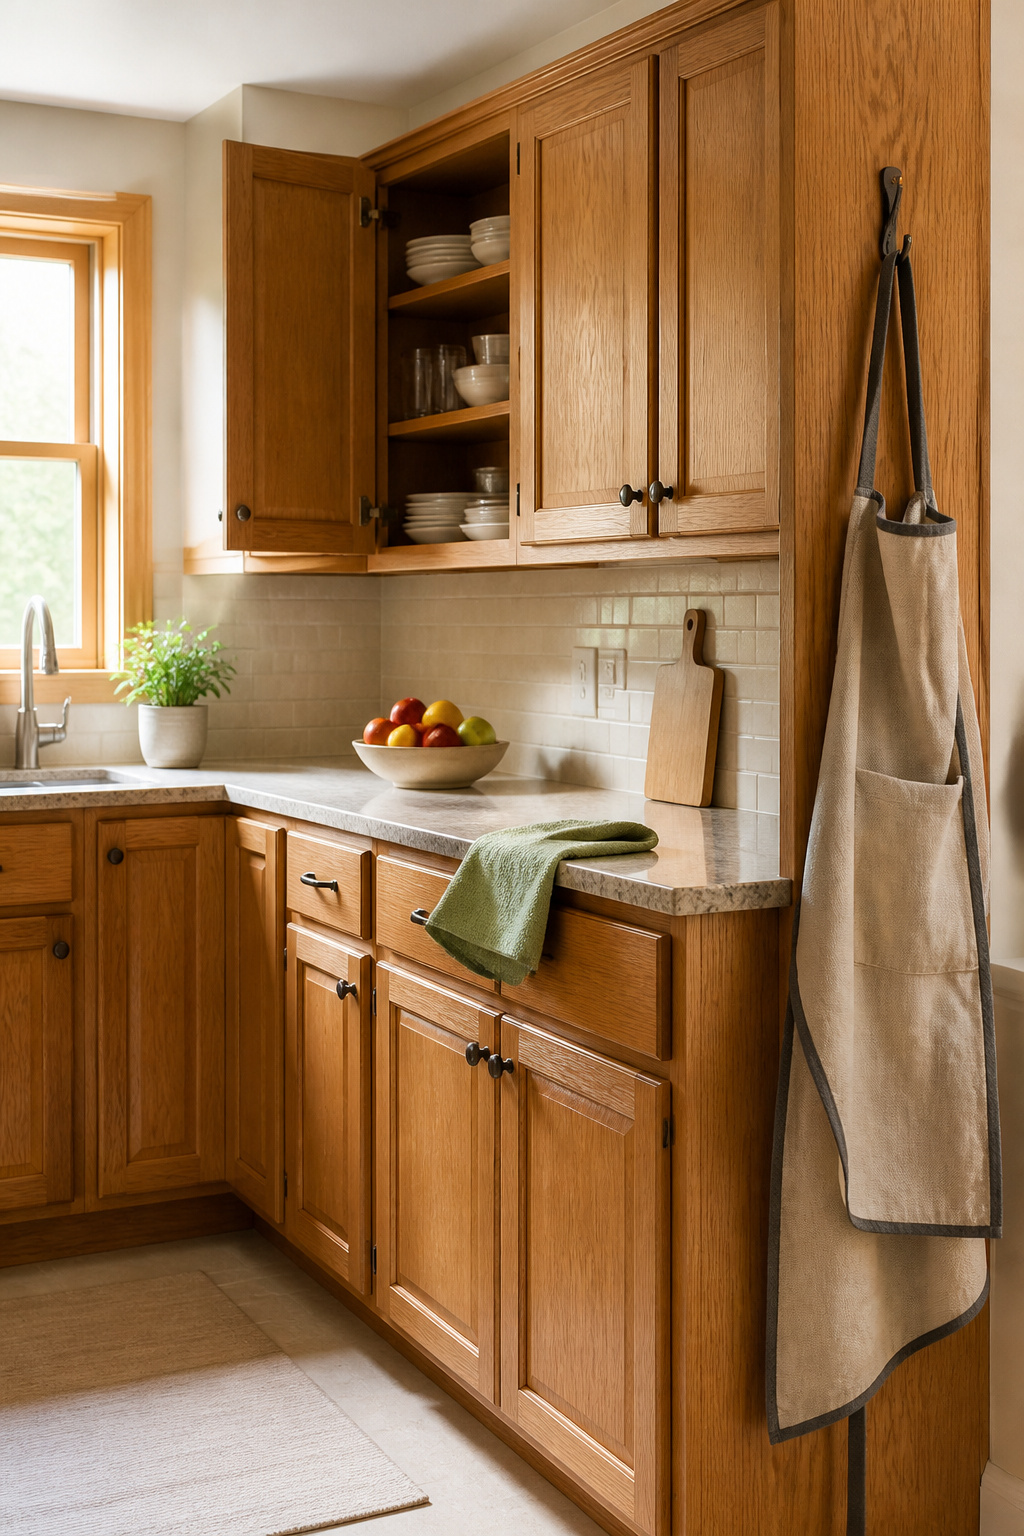
A weekly wipe-down of handles, drawer pulls, and any visible splatter takes under ten minutes and keeps grease from setting into the grain.
I run a barely damp microfiber cloth over the fronts after Sunday dinner, paying extra attention to the cabinets flanking the stove where cooking residue collects fastest.
The cloth should feel damp, not wet; oak swells when it sits with moisture.
The deeper pass, every three to six months, is when you notice whether the weekly habit has been enough.
Sticky patches near the range hood, a faint film on the doors you use most, or dust clinging in the cabinet interior instead of wiping away clean are the signals.
That deeper round means emptying the cabinets, pulling shelf liners to wash or replace them, and addressing the hardware with the same solution you will use on the wood itself.
Poor ventilation in the kitchen shortens that timeline; grease accumulates faster when the range hood does not clear the air well, and the cabinets above the hob need more frequent attention than the rest.
Interiors stay cleaner by comparison, so two or three times a year suffices for the inside space.
Recommended Products

Wood Cleaner for Wood Tables, Cabinets, Doors, and More

VERSATILE ALL-PURPOSE CLEANER: Concentrated all purpose cleaner removes grease, grime, and dirt from multiple surfaces. Use as a multi-surface cleaner, dish degreaser, kitchen cleaner, or laundry wash. Works for floors, walls, counters, dishes, and cars
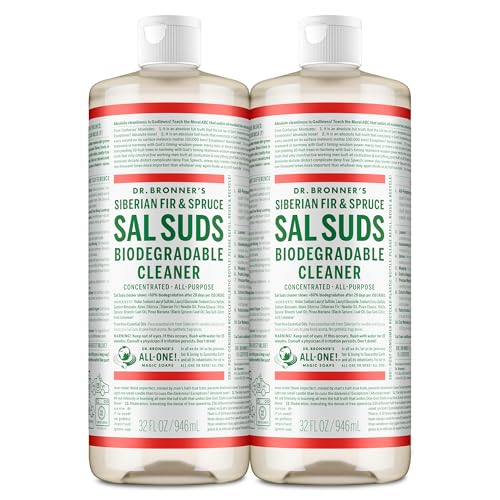
POWERFUL ALL-PURPOSE CLEANER: A concentrated multi-surface cleaner that cuts grime and dirt with ease. Use as a mop detergent, kitchen cleaner, bathroom cleaner, or laundry detergent. Safe for floors and hard surfaces throughout your home
What to Use and What to Skip
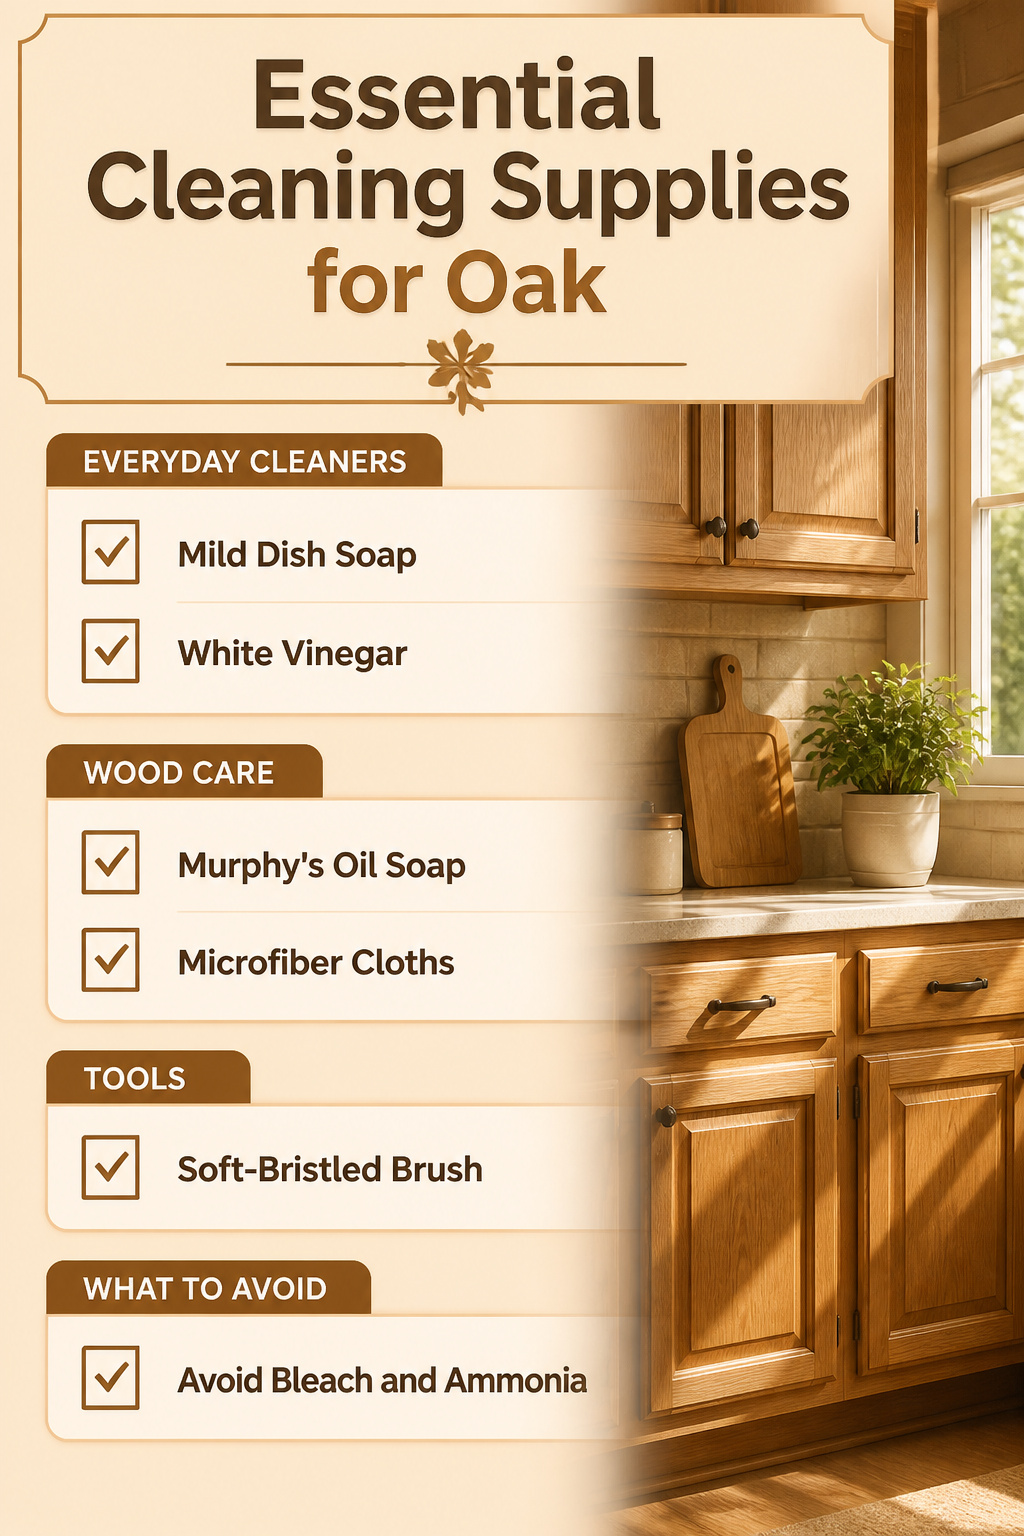
Mild dish soap and warm water handle most of the grease that builds up on oak cabinets.
Dawn Platinum breaks down the oil fast without needing anything stronger, and a few drops in a spray bottle of warm water is the mix I reach for first.
Simple Green works too if the grime has set in a bit.
White vinegar cut with water cuts through the spots where grease has turned sticky, but keep the ratio gentle.
Murphy’s Oil Soap is the old standby for wood that looks thirsty, and Howard Orange Oil brings the finish back after the surface is fully dry.
Microfiber cloths trap the grit instead of pushing it around, and a soft-bristled brush gets into the grooves of raised-panel doors without scratching the grain.
Bleach and ammonia both damage oak, and so does anything abrasive. The alkali in strong cleaners reacts with the finish in ways that warm soapy water does not.
Skip the scouring pads, skip the Magic Eraser on the wood itself, and save the heavy-duty products for the sink and the stove.
Recommended Products

REUSABLE MICROFIBER MITT: Slip-on cleaning glove traps dust and hair for faster wipe-downs; rinse or machine wash and reuse, so you can replace disposable wipes; elastic cuff helps keep the mitt in place while cleaning around the home.

ULTRA SOFT MATERIAL & SCRATCH FREE - Ultra soft and highly absorbent microfiber cleaning cloths, great for cleaning windows, kitchenware, car or other delicate surfaces.

ULTRA SOFT MATERIAL & SCRATCH FREE - Ultra soft and highly absorbent microfiber cleaning cloths, great for cleaning windows, kitchenware, car or other delicate surfaces.
Weekly Wipe-Downs Versus Deep Cleans
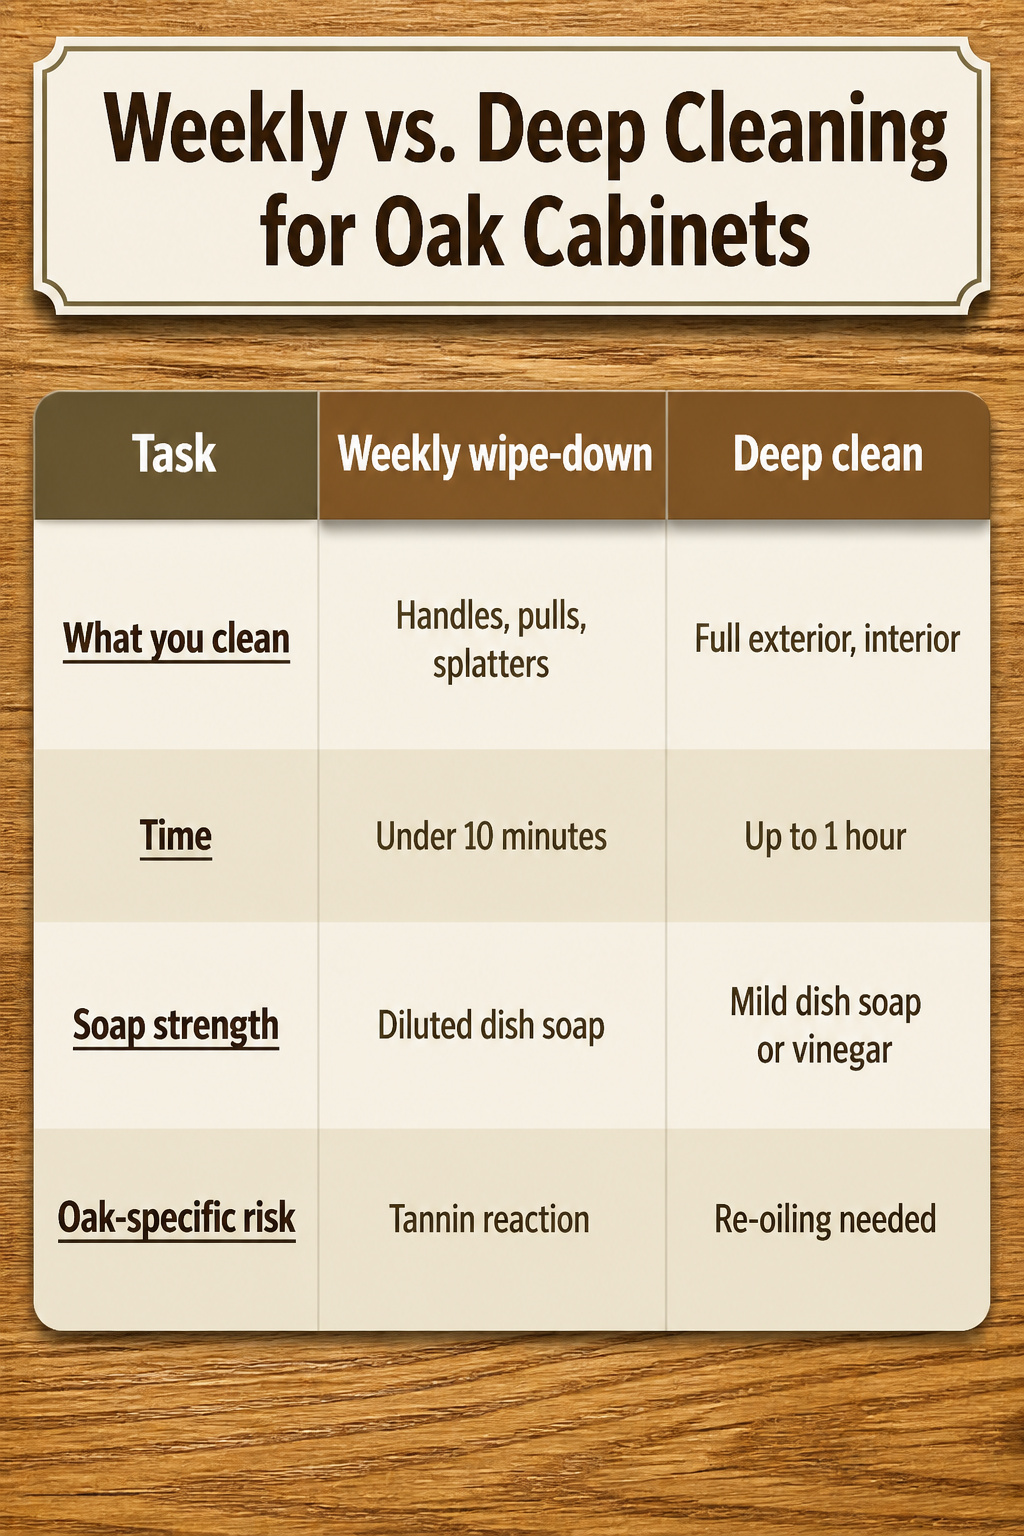
Oak’s open grain makes the difference between weekly and deep cleaning sharper than it is for smoother woods.
A quick pass catches surface grease before it sinks into those pores; let it sit, and you’re working solvent-deep into the grain itself.
| Task | Weekly wipe-down | Deep clean |
|---|---|---|
| What you clean | Handles, pulls, splatters, frequently touched doors | Full exterior, interior, drawers, shelf liners, hardware |
| Time | Under 10 minutes | Up to 1 hour |
| Soap strength | Plain water or diluted dish soap | Mild dish soap, vinegar solution, or wood cleaner tested first |
| Oak-specific risk | Tannin reaction with harsh or acidic cleaners left sitting | Re-oiling or re-staining needed if finish has dulled |
The 2–3 month check near the stove and sink is where most people let oak down. Grease builds invisibly in grain lines there, and by the time you see the dull patch, you’re already into restoration territory rather than cleaning.
Monthly full-surface wipes buy time, but they don’t replace that deeper pass every 3–6 months.
Recommended Products

Lemon Oil for Furniture - Dust & polish furniture & woodwork in the home. Leaves surfaces in a brilliant luster. Rich moisturizing oils help protect surfaces from sun fading, drying & cracking. Rejuvenate to original beauty & natural look
Country of origin is China

COMPLETE WOOD POLISH BUNDLE: Includes a 16 oz. Wood Cleaner & Polish and Premium Microfiber Cloth.
Why Harsh Chemicals Ruin Oak
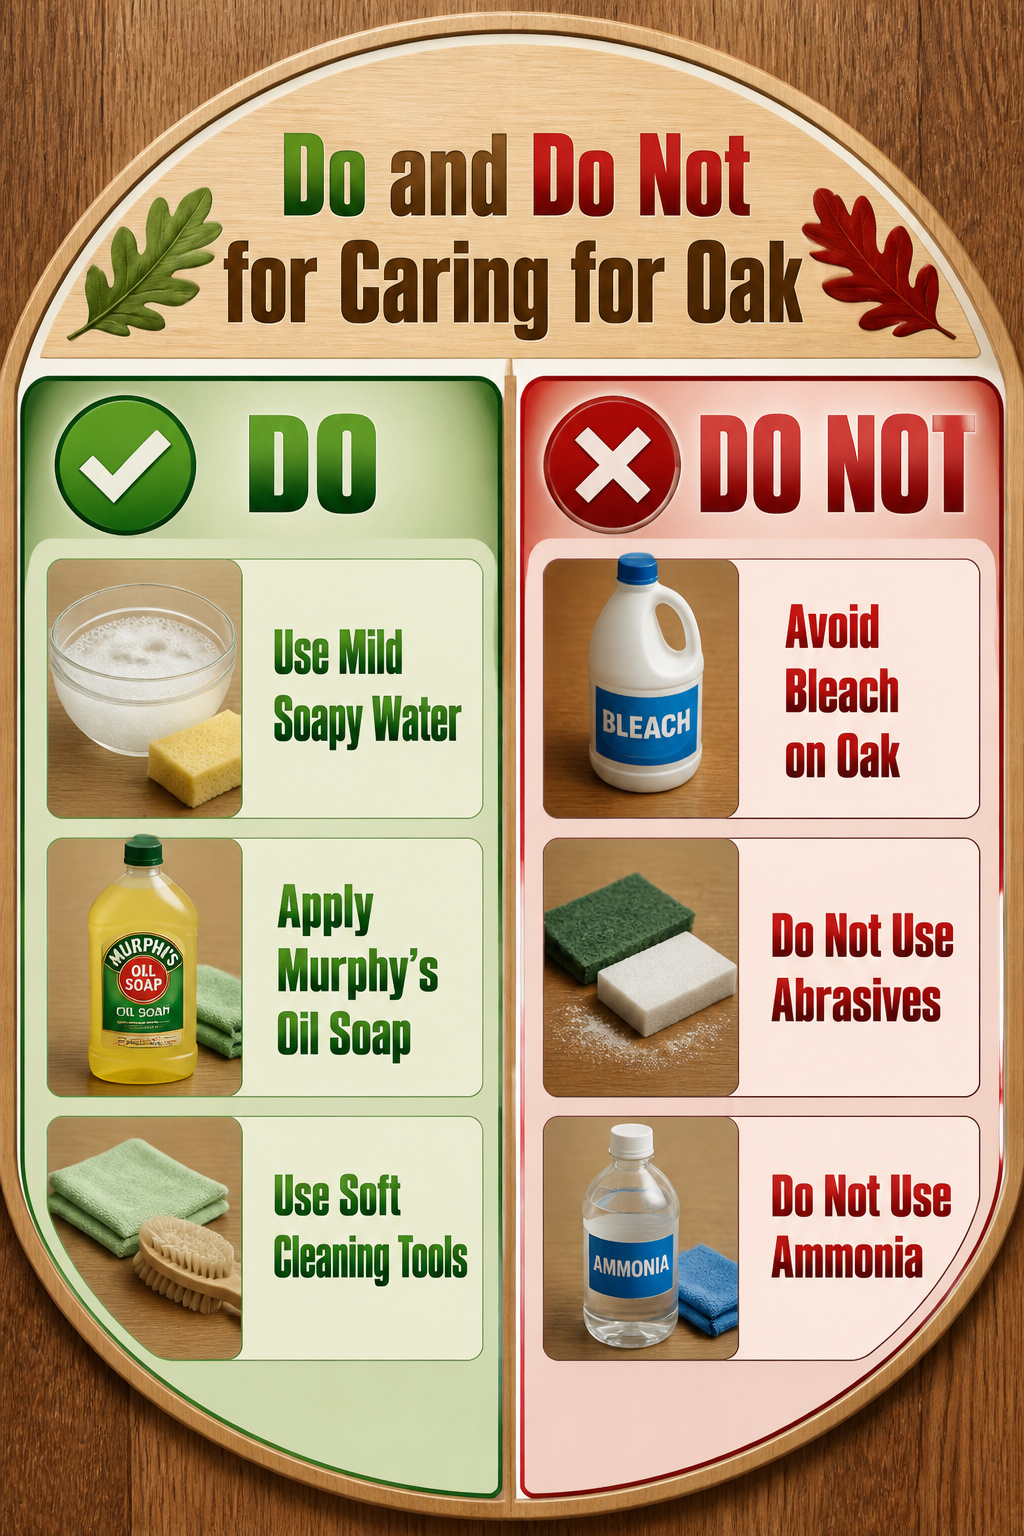
Bleach and ammonia do not belong on oak cabinets, and the reason sits in the chemistry rather than the caution label.
Both are strong alkaline cleaners, and alkaline solutions react with paint and lacquer finishes in ways that warm soapy water simply does not.
That reaction breaks down the protective layer you are counting on, and once it is compromised, moisture finds its way through to the wood beneath.
Oak is especially vulnerable here because of its open grain. The pores that give oak its character also create channels where water collects once the finish is damaged.
A cabinet with a compromised surface will absorb humidity from a steamy kitchen far faster than a tighter-grained wood would, and that absorbed moisture leads to warping and staining that no surface wipe will fix.
Abrasive tools cause a different problem. Magic Erasers, scouring pads, and powdered cleaners all wear away finish at a microscopic level.
On oak, that abrasion does not just dull the surface; it opens the grain further and makes the wood more porous over time.
The finish is the only barrier between your cabinets and the kitchen environment, and once you have scrubbed through it, you are not cleaning anymore. You are exposing the wood to damage that builds with every season.
Recommended Products

FOAMING CABINET CLEANER Thick clinging foam works in seconds to break down grease, fingerprints, grime and everyday kitchen buildup. Spray directly onto cabinets and wipe clean without heavy scrubbing.

CUTS THROUGH GREASE, OIL, AND BUILT-UP GRIME – Mossy Oak Heavy-Duty Degreaser is a fast-acting citrus-based formula that dissolves grease, oil, brake dust, road tar, chain lube, and carbon buildup that regular wash soap simply cannot remove. Engineered for the dirtiest areas of any vehicle.
Frequently Asked Questions
How often should you clean wooden kitchen cabinets?
u003cpu003eGive oak cabinets a weekly wipe-down of handles, pulls, and any visible splatter, and deep clean every three to six months.u003c/pu003e u003cpu003eThe cabinets flanking the stove and the ones above the range hood need more frequent attention because grease accumulates fastest there. Interiors stay cleaner by comparison, so two or three times a year suffices for the inside space.u003c/pu003e
Can you use vinegar on wooden cabinets?
u003cpu003eYes, but only as a diluted solution and with caution. A one-to-one mix of white vinegar and water cuts through lighter grease on oak, sprayed on and wiped off soon after.u003c/pu003e u003cpu003eVinegar is acidic, so letting it sit will eat at the finish; always test on a hidden spot like the inside of a door first.u003c/pu003e
What is the best cleaner for painted kitchen cabinets?
u003cpu003eWarm water on a microfiber cloth is sufficient for everyday cleaning of painted cabinets, with a few drops of mild dish soap added when water alone will not lift the grime.u003c/pu003e u003cpu003eThere is no specialist product that outperforms this simple approach on hand-painted wood.u003c/pu003e