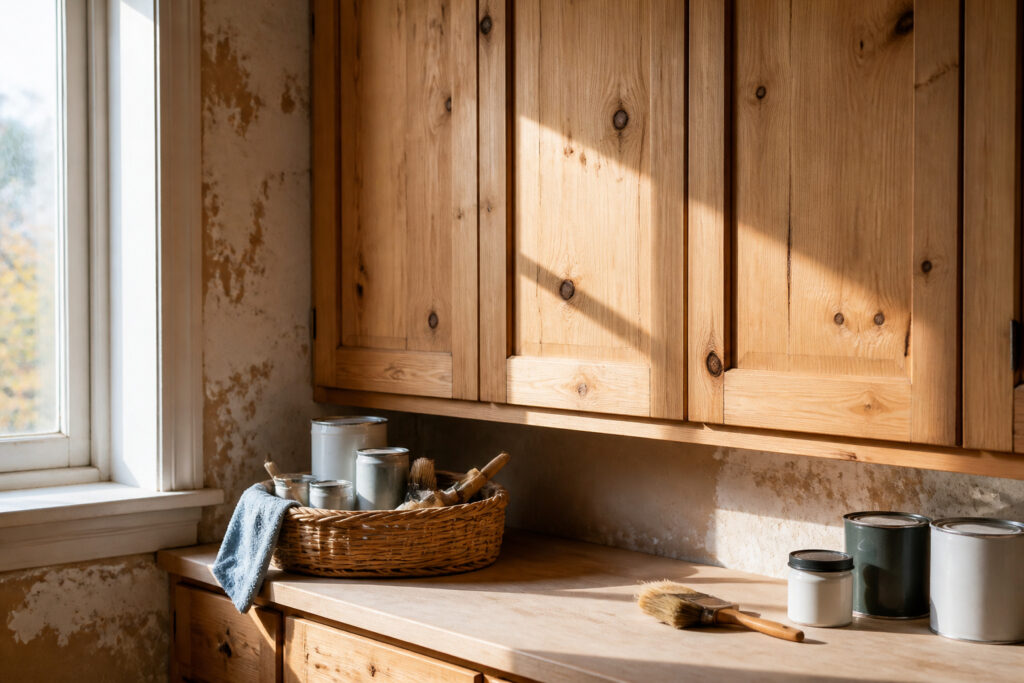
Knotty alder cabinets can be painted, but the wood’s open knots and resin pockets make the finish fight back if you rush.
The real cost is not the paint; it is the three-pass cycle of filling, priming, and filling again where knots settle, a routine Jennifer Allwood’s crew learned after their first coat wrinkled.
Budget two full evenings just for cleaning before you open a single can.
1. Preparation
Knotty alder cabinets come with more moving parts than most people expect. The doors hang heavy, the hinges sit proud, and the grain holds grease in ways that flat maple never would.
Skipping the teardown is where painted cabinets start looking painted instead of finished.
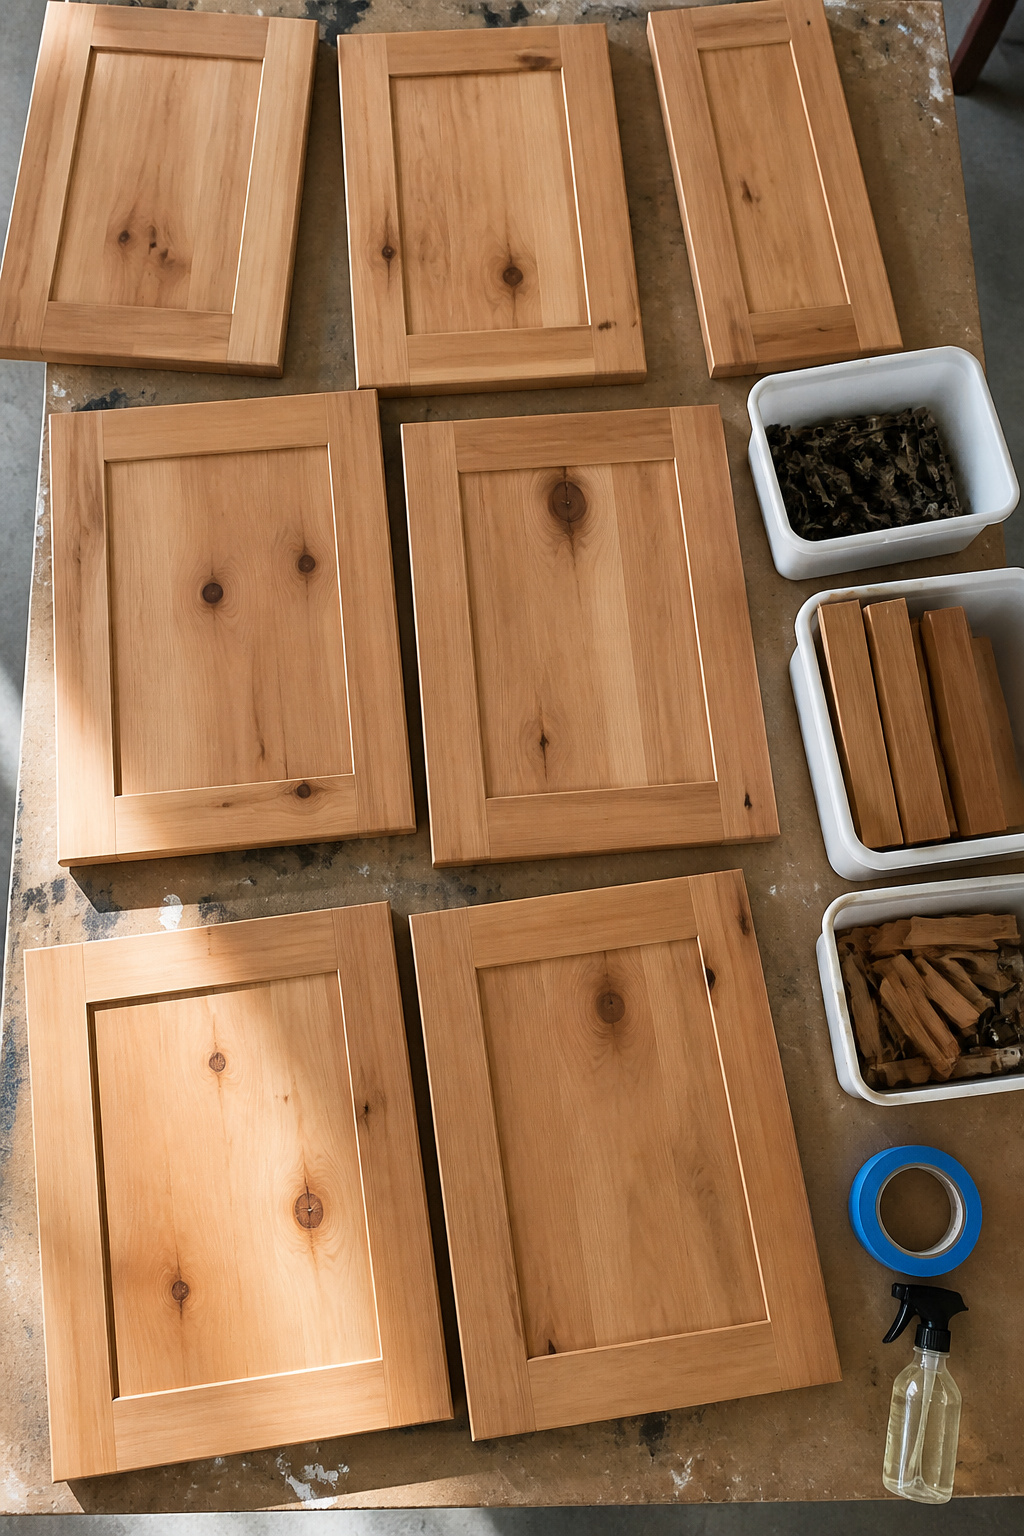
I pulled every door, every drawer front, every hinge and pull, and laid them out in the garage with the hardware taped inside sandwich bags.
The boxes stayed in the kitchen, but everything that lived inside them went into labeled bins. Cooking around a project sounds doable until you are brushing primer at ten PM and the dog is licking a drip off the floor.
Cleaning took longer than the actual painting. TSP substitute, a green scrub pad, and three passes over every surface before the water ran clear.
The knots seeped oil, the edges near the stove had a film that primer would have skinned over without ever grabbing. Budget two full evenings for this, maybe three if your cabinets see real cooking.
The finish you get a month later depends almost entirely on whether you rushed this part.
2. Fill Knots and Cracks
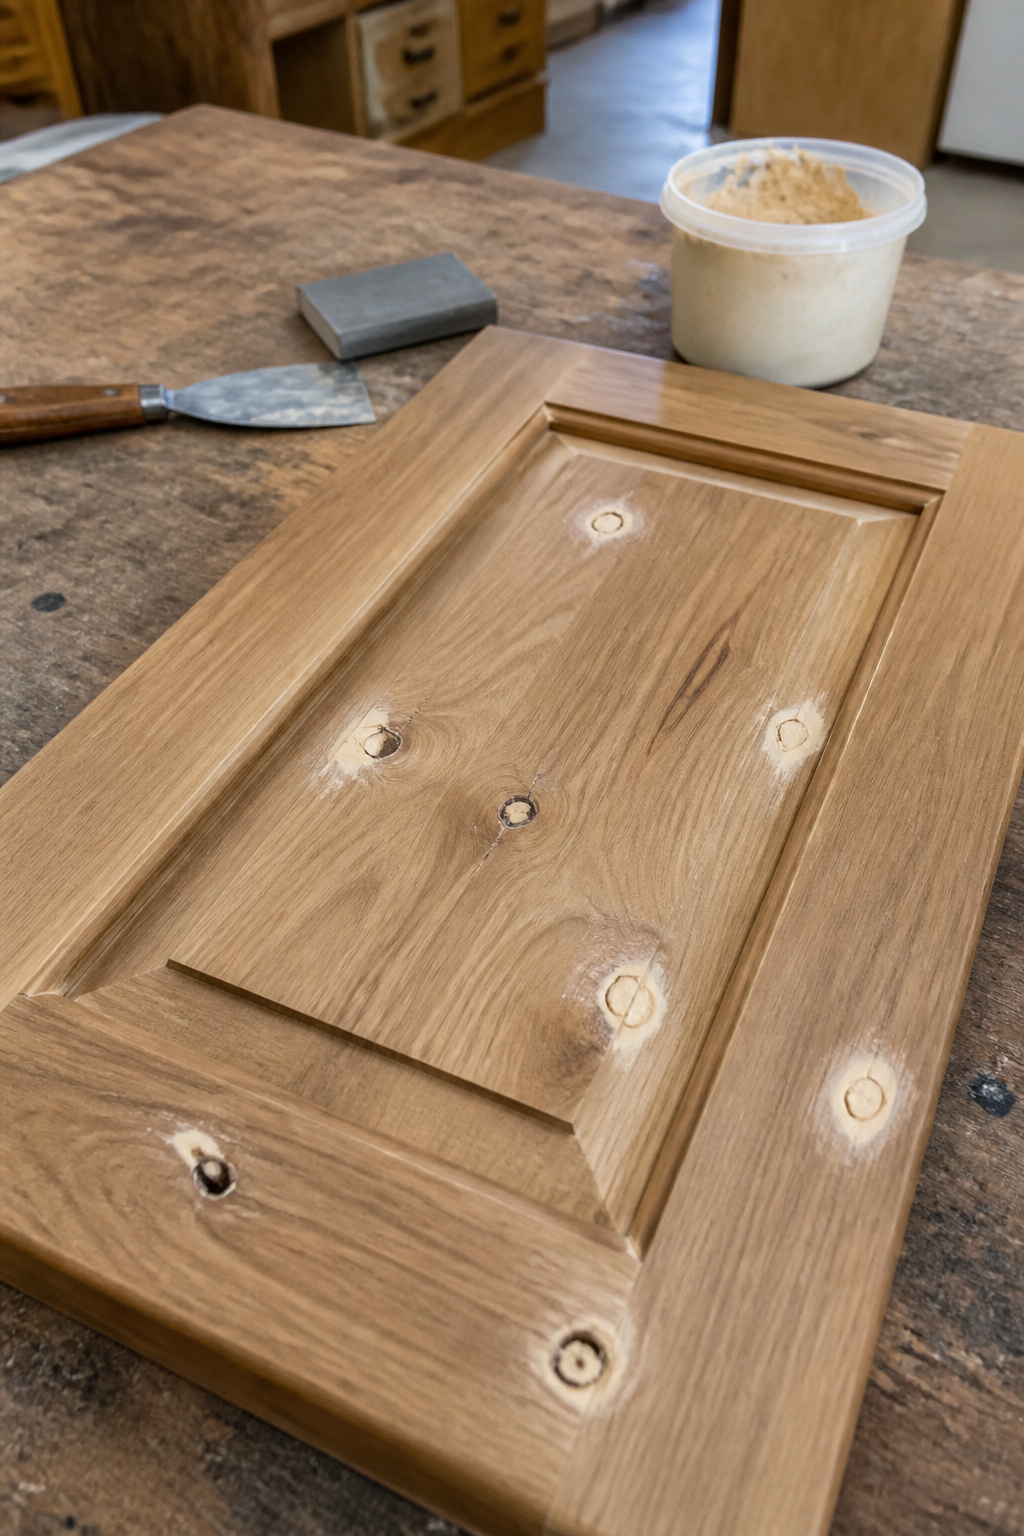
Knotty alder’s open grain and actual knot holes will drink paint straight through if you skip this step.
Wood filler or sealant pressed into every crack and knot face is what keeps the finish level, not lumpy, and it stops the resin pockets from telegraphing back through months later.
The first pass rarely takes. Alder knots in particular tend to settle and shrink as filler cures, so a second round after the initial sanding is standard practice on this wood.
Jennifer Allwood’s crew primed, filled again, sanded again, then painted, and still needed a final fill for spots that had settled after the first paint coat.
That three-pass routine is the real cost of knotty alder; skipping it leaves you with wrinkled, cracked cabinets down the line.
Work the filler slightly proud of the surface so sanding brings it flush without leaving a dip.
No brand stands out as the one to buy here; any quality wood filler rated for interior cabinetry will do the job if you build it in thin layers rather than one thick glob.
3. Sand Surfaces
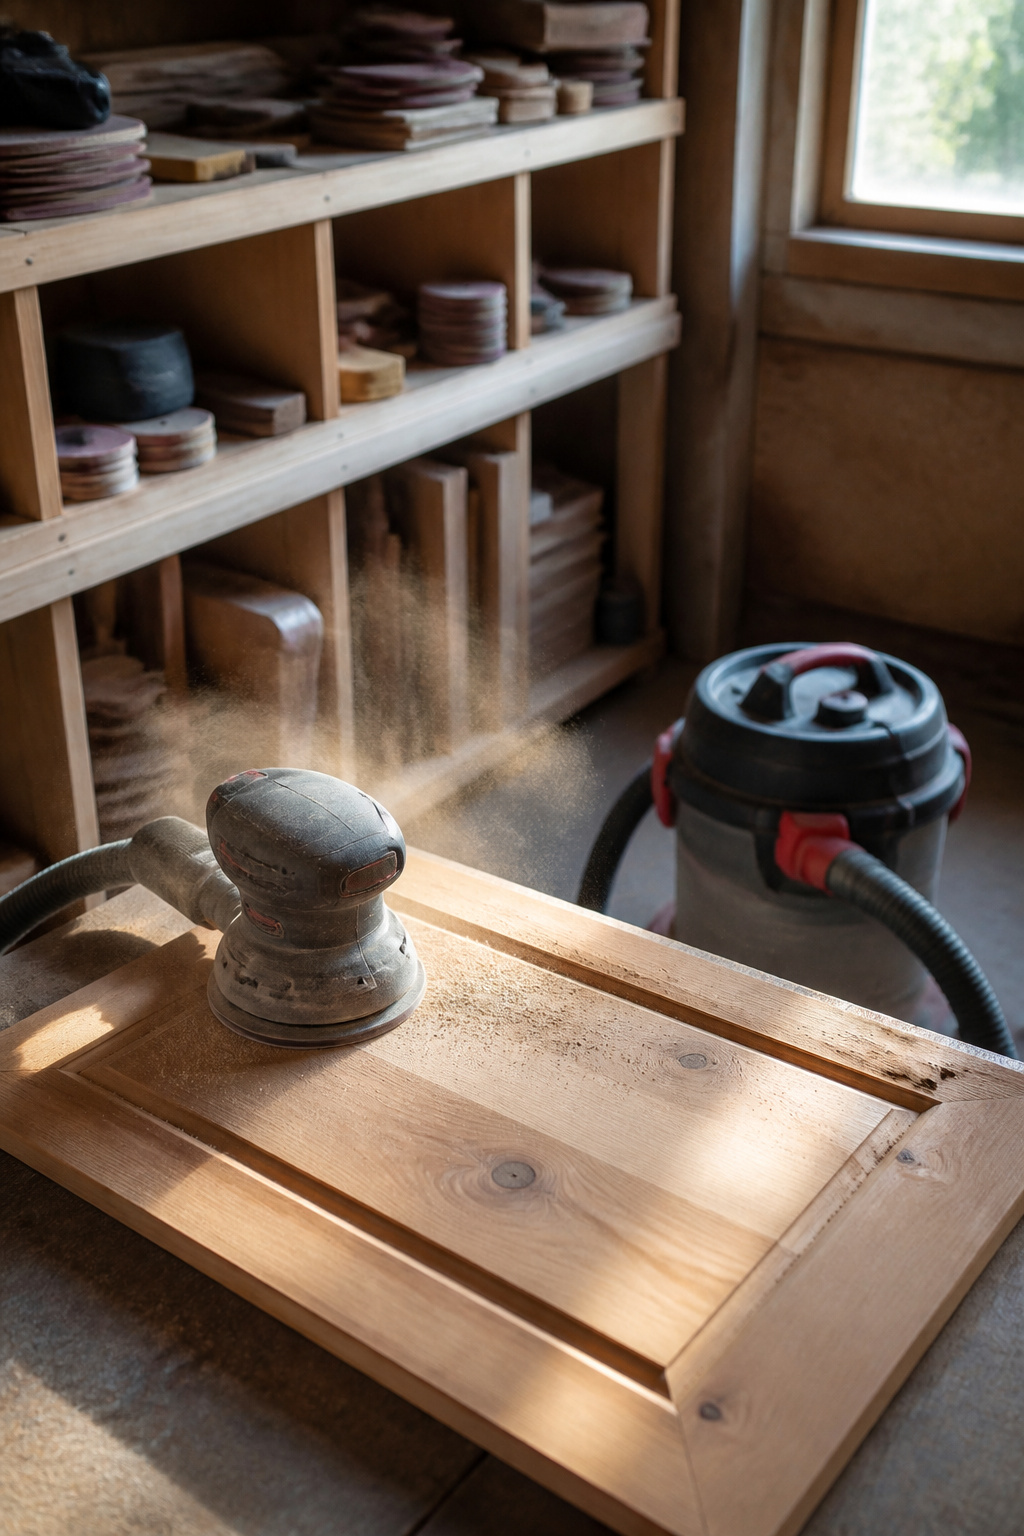
Alder cabinets come with a soft, open grain that soaks up paint unevenly if you skip this part. The first pass needs 80-grit sandpaper to cut through the old finish and level the surface.
Work with the grain, not against it, and keep the sander moving so you don’t dish out the softer spots between knots.
The grit progression matters more than the brand of paper. After the 80-grit strips the surface, move to 120-grit to erase the scratches, then finish with 220-grit before priming.
That final smoothing is what keeps the primer from telegraphing every sanding mark back through the paint.
Vacuum the dust off, then wipe down with a tack cloth. Paint sticks to dust about as well as it sticks to wax, and knotty alder sheds more fine fiber than harder woods.
The ten minutes of cleanup saves the hour of sanding out raised grain later.
Some sources suggest sanding again between primer coats, and again after the first sealer coat once everything is painted. That extra sanding between layers is what separates a finish that looks sprayed from one that looks brushed.
4. Prime Cabinets
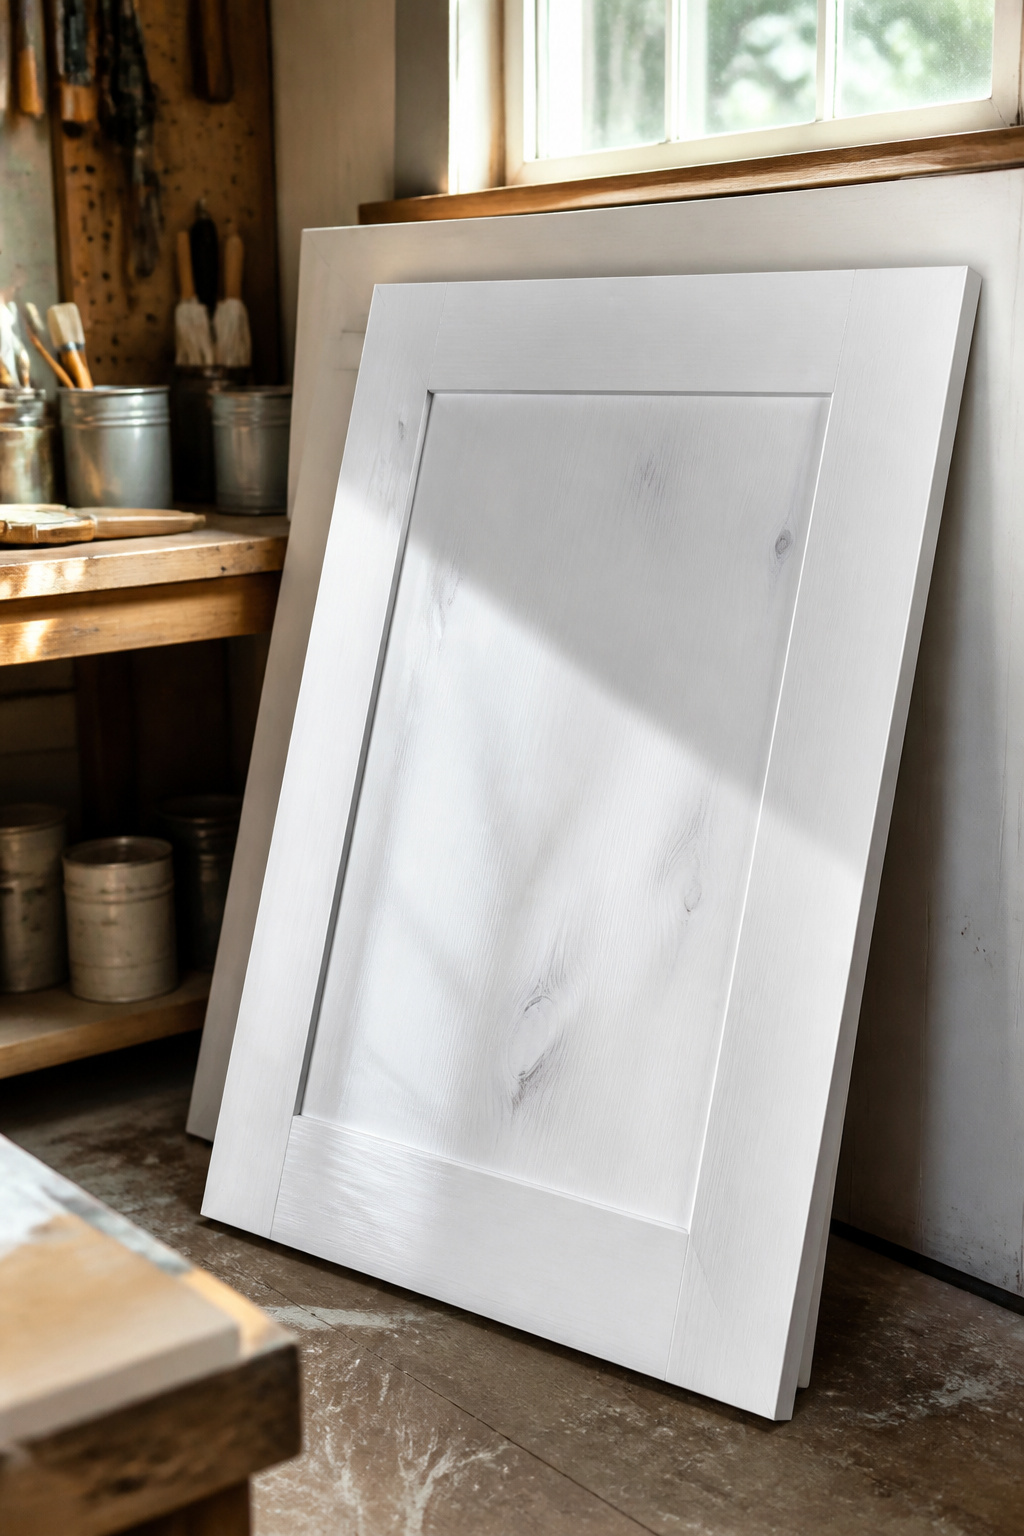
A primer built for wood does two jobs on knotty alder that standard wall primer skips.
The resin solvents in wood-specific formulas bite into the grain and give the paint something to grip, whereas untinted drywall primer sits on top like a layer of weak glue.
Open-grained woods like alder will drink that generic coat unevenly, and you’ll find the finish lifting at the knots inside a season.
I learned this the hard way on a bathroom vanity years back. The paint looked fine through April, then chipped along the door rail where I’d figured one coat of leftover white would do.
Wood primer costs maybe five dollars more per quart than the basic option, and that difference buys you a bonding agent formulated to flex with the cabinet as humidity swings.
Without it, the paint film cracks where the knots swell and shrink.
Knotty alder demands more vigilance here than clear alder ever will. The knots are denser than the surrounding wood, and their oils can telegraph through in yellow rings if the primer film is too thin.
Two moderate coats, sanded lightly between them, build the barrier that keeps those tannins locked down.
Jennifer Allwood’s crew learned the same on their kitchen project: after priming they had to fill and sand again, then prime a second time where the knots had settled.
The extra round was maddening, but the cabinets came out smooth, not wrinkled.
5. Paint
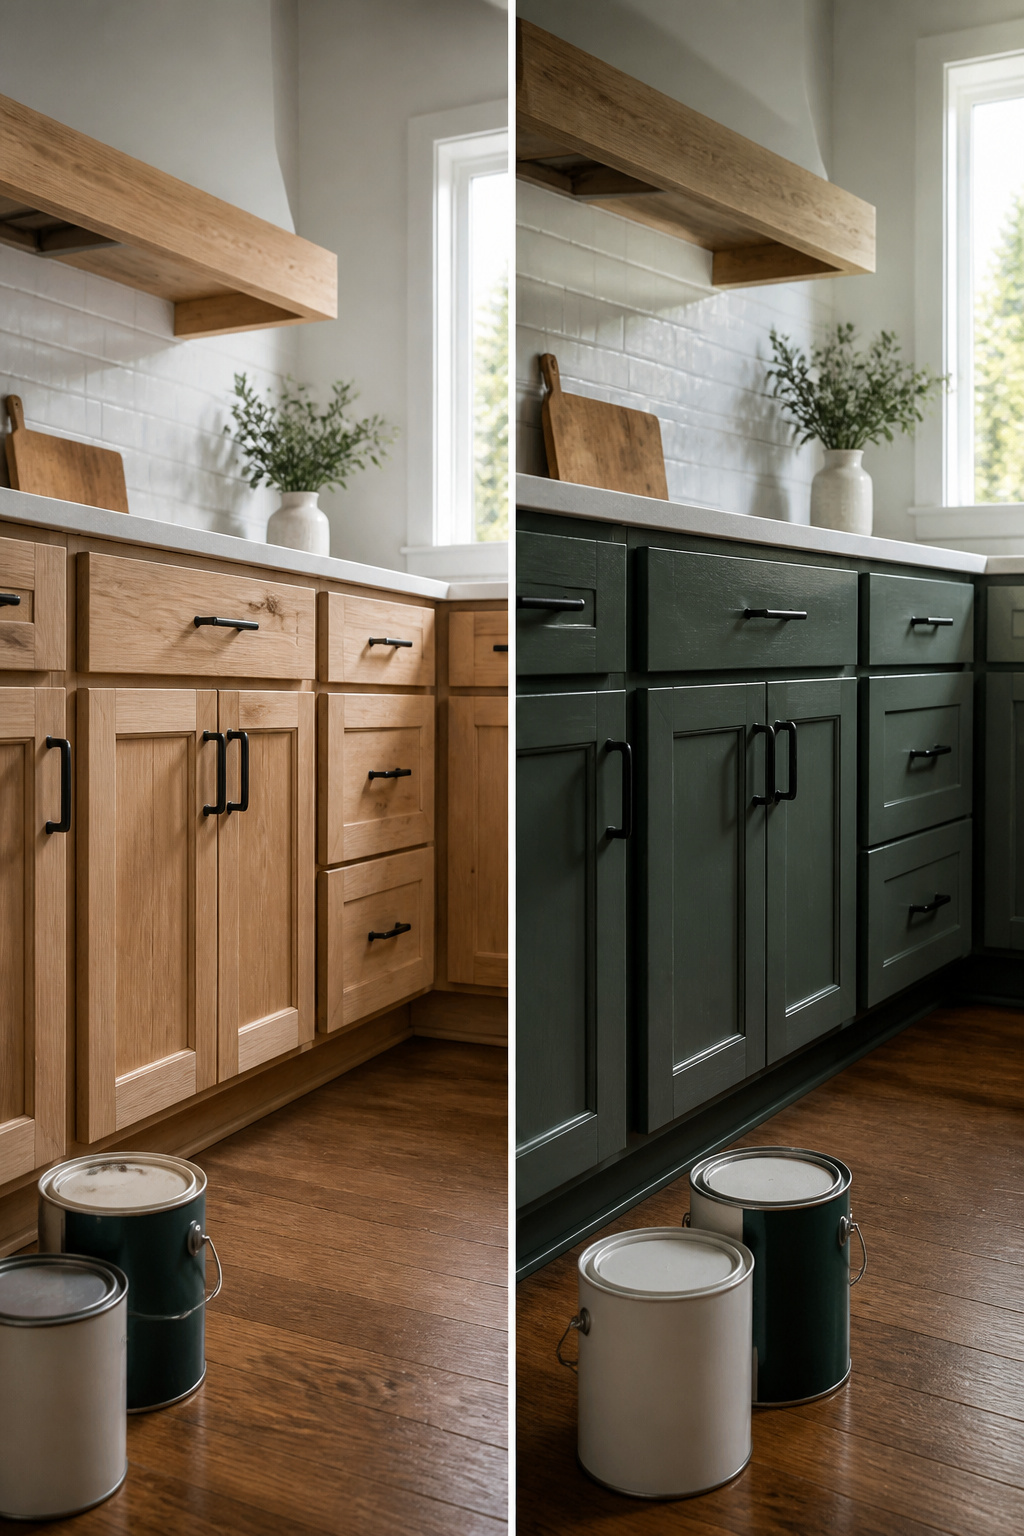
Thin coats are the only way to get a surface that looks like a factory finish rather than a kitchen craft project.
A heavy layer sits on top of the grain, pools in the recesses around knots, and takes so long to cure that dust settles in and ruins the gloss before it ever hardens.
Two or three light passes, each one just enough to change the color without hiding the texture underneath, build up a film that flexes when the alder expands and contracts through the seasons.
Each coat needs to dry until it feels slick and cool no longer gives way to slightly tacky.
On a Saturday morning start, that usually means the first coat before lunch, the second by late afternoon, and a third on Sunday if the second looks thin in places.
Cabinet-grade acrylic or alkyd paint meant for trim and doors costs more per gallon than wall paint, but the resin content is what keeps the surface from chipping when you slam a drawer or park a hot pan nearby.
The twenty or thirty dollars extra pays back the first time you wipe a spill and the color stays put instead of lifting onto the rag.
6. Seal with Topcoat
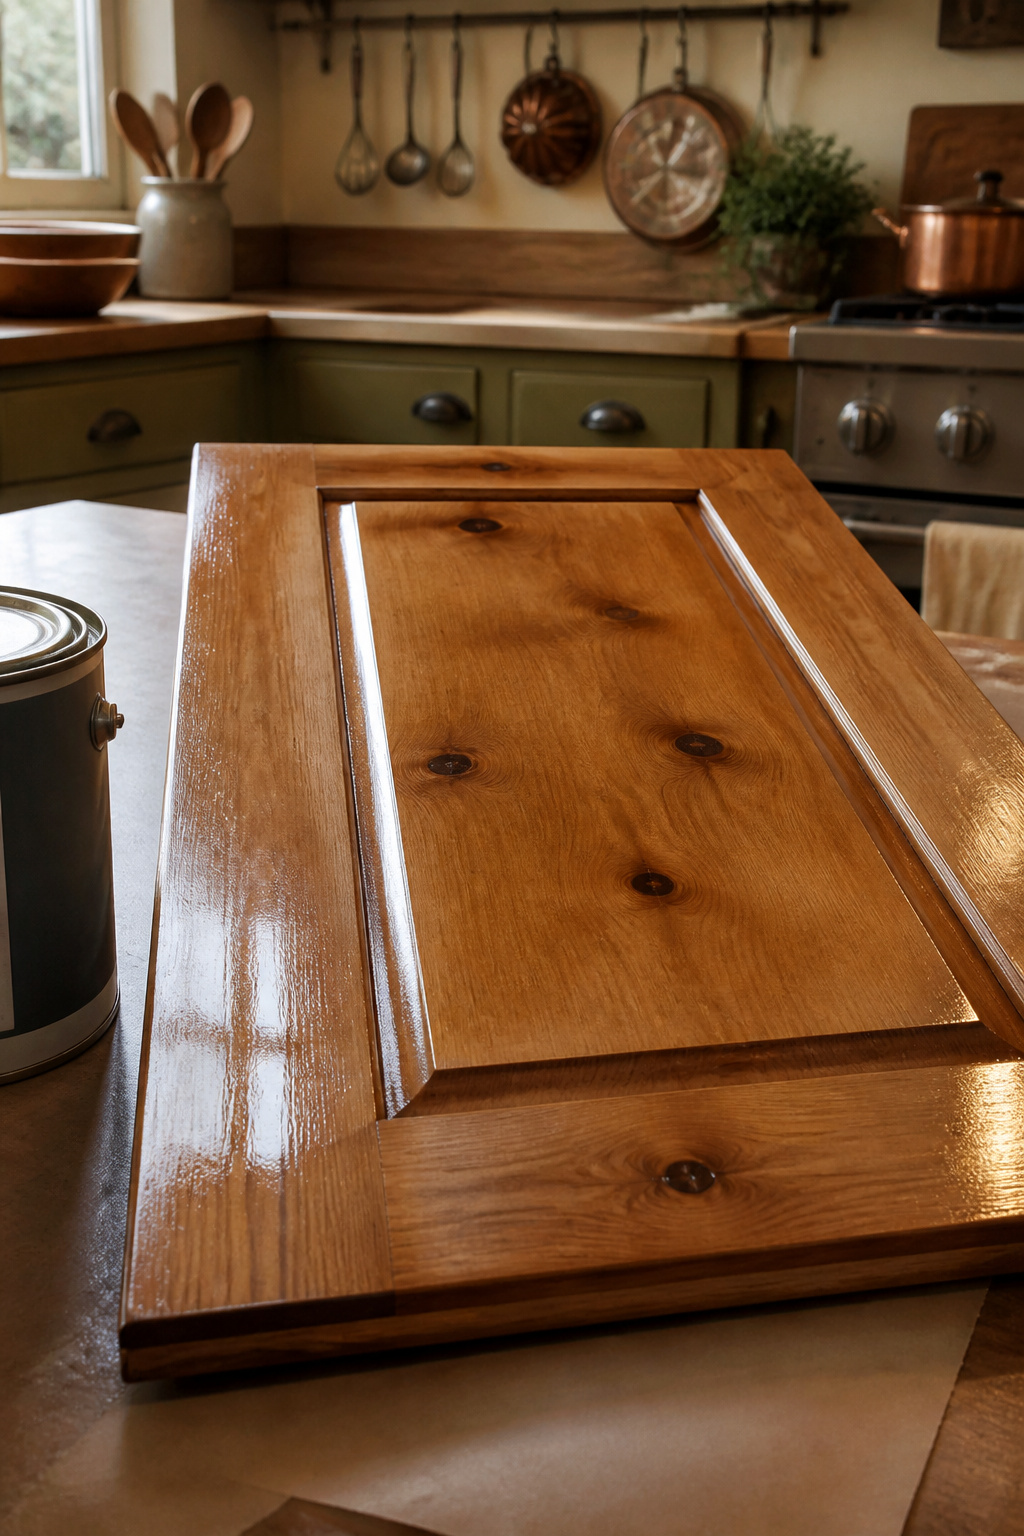
Oil-based polyurethane sits on top of the paint like a clear skin, which is exactly what a kitchen cabinet needs.
Steam from the dishwasher, grease drifting from the stove, and the thousand wipes a drawer front takes in a year all hit that film instead of the color underneath.
Water-based poly dries faster and smells less, but in my reading it scratches sooner on a horizontal surface like a shelf or the cabinet deck under the sink. The sheen level changes the final look more than people expect.
Satin reads as soft and modern, while semi-gloss throws light back and makes the knots stand out almost in relief. Two thin coats beat one thick one for avoiding drips on those vertical door panels.
The second coat goes on after a light scuff with fine paper, usually the next morning.
Skip this step and the paint will start wearing through at the handles and corners within a year, especially on the cabinets you actually use.
7. Final Touches
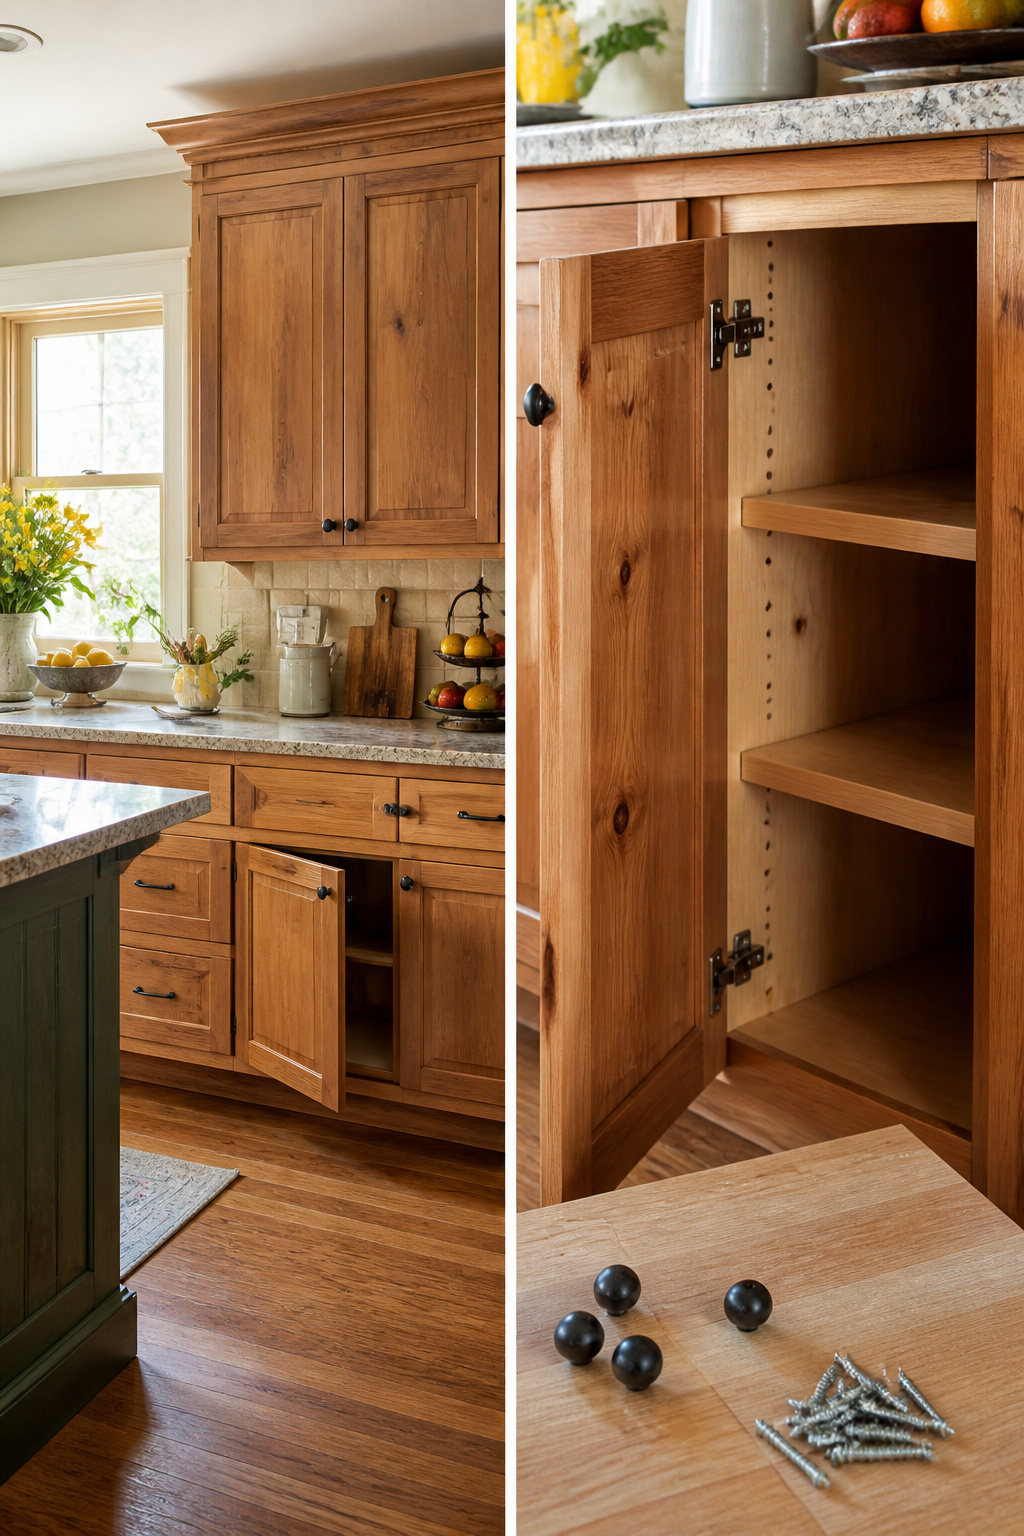
A very light hand-sand with 320-grit paper on the cured topcoat removes any dust nibs or slight texture and leaves the surface feeling like factory finish.
Skip this if the sheen already looks even to your eye; it is a polish step, not a fix for problems underneath.
Reattach hardware with fresh screws if the old ones stripped during removal, and hang doors last so you are not brushing against wet work.
The kitchen comes back together fast once the cabinets are up, usually in a single evening if you laid out the hardware in labeled bags.
Knotty Alder and Clear Alder
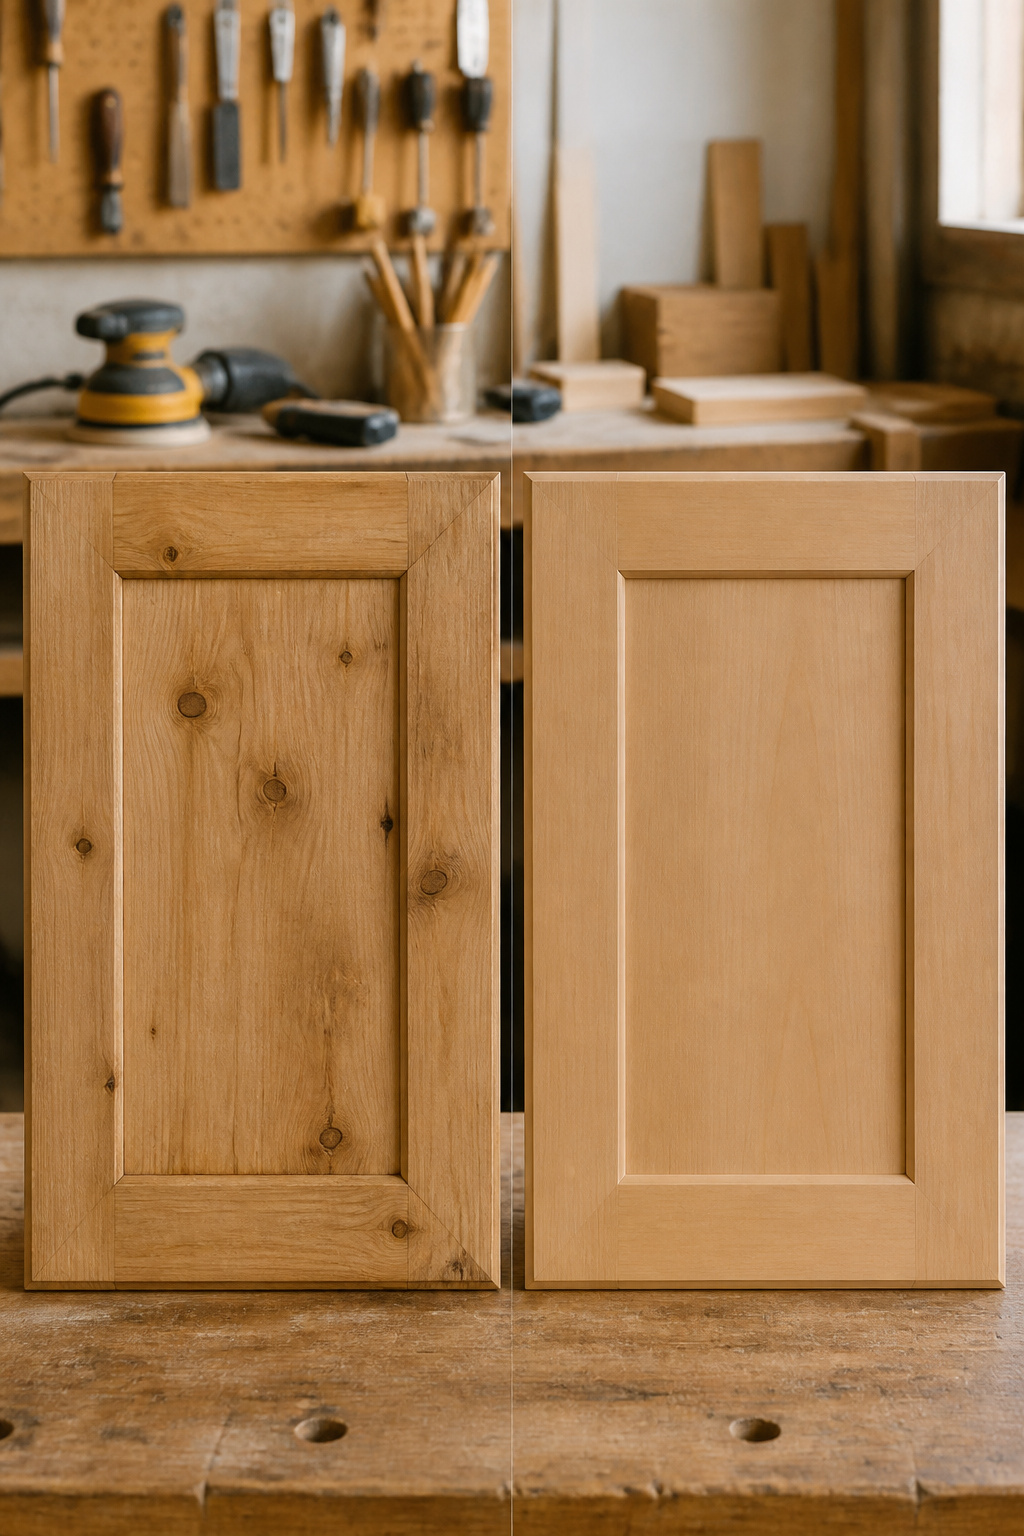
Alder comes in two grades that paint very differently. Knotty alder keeps its open knots, splits and divots for a rustic look that reads as character under stain but tends to look like oversights or even "spiders" once painted.
Clear alder is mostly free of knots, with a wave-type grain and smoother face that takes paint more predictably.
The grade decides your prep workload. Knotty cabinets will need every hole and crack filled with wood filler, then sanded flush, or the imperfections telegraph straight through the finish.
One homeowner learned this the hard way: the knots in her bathroom cabinets bothered her so much after painting that she left them till remodel time, but in the kitchen she had the painters fill everything with red-tinted filler so they could spot every patch.
Clear alder skips most of that labor, though the softer hardwood still needs careful sanding so the grain does not raise unevenly.
Color choice shifts with the grade too. Darker shades like brown or deep green play up knotty alder’s rustic texture, while lighter grays or creams suit clear alder’s smoother, more contemporary grain.
Paint Colors That Work
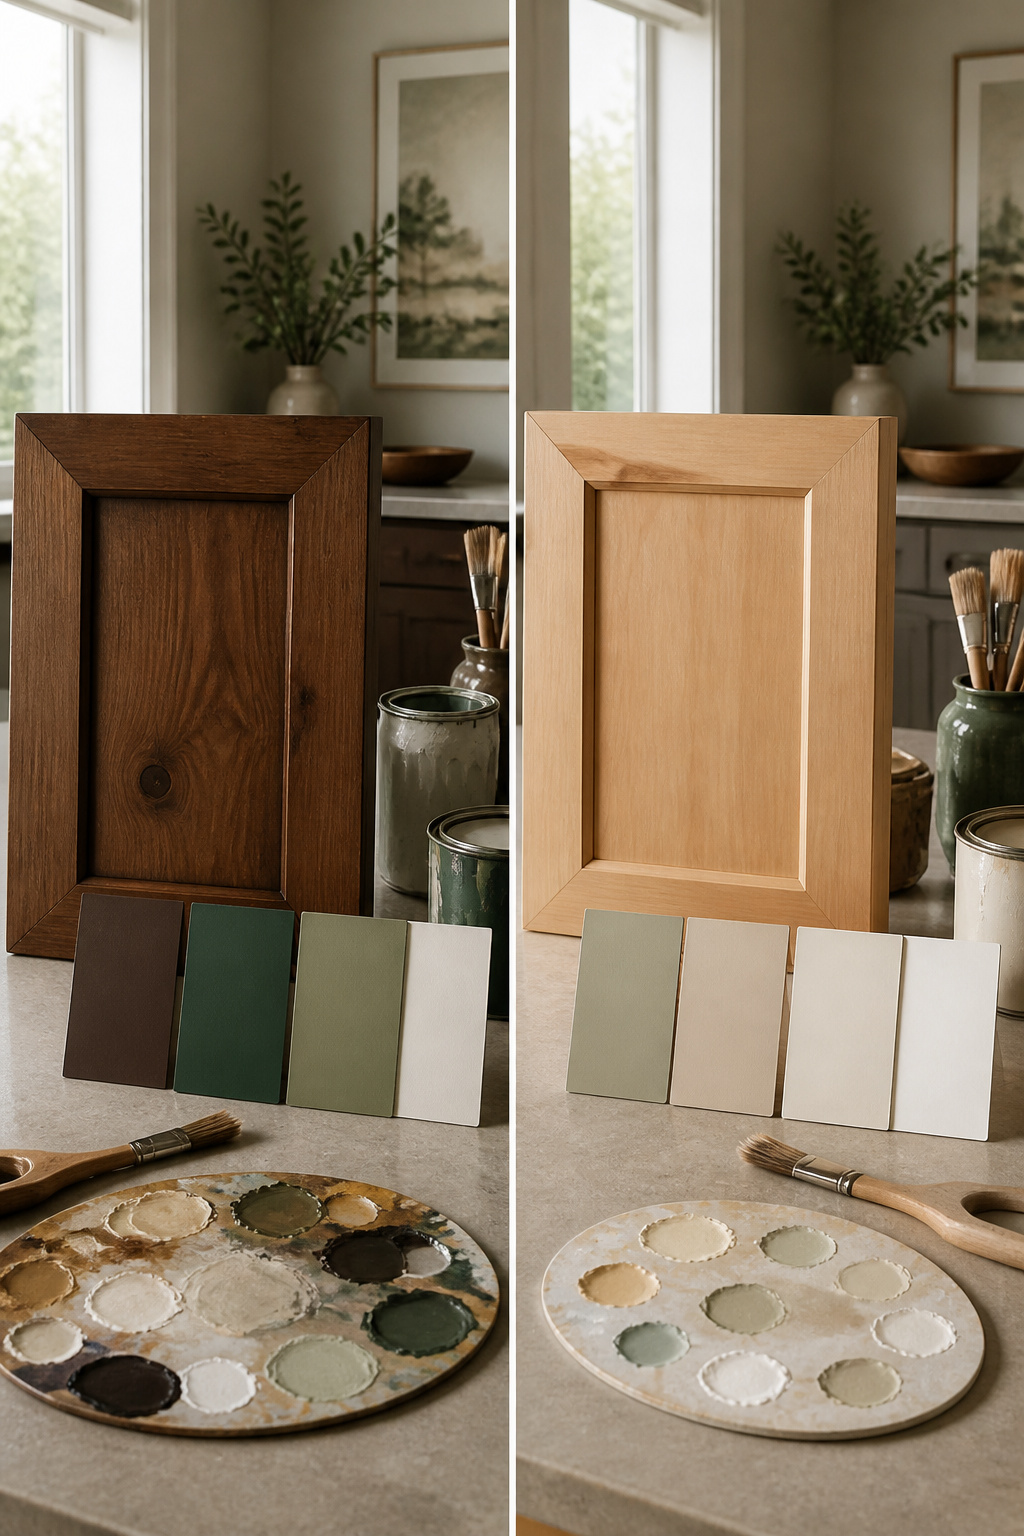
Knotty alder and clear alder read as two completely different woods once paint goes on. The knots in knotty alder want darker shades like brown or deep green to pull that rustic character forward rather than fight it.
Clear alder, with its smoother grain and no knots to compete, takes light gray or cream without looking washed out.
Repose Gray by Sherwin Williams sits right in that modern zone for clear alder. I have seen it read slightly warm in south light and cooler on north-facing walls, so the room matters.
Either way, it keeps the grain visible without going farmhouse beige.
Brown or deep green on knotty alder does something similar. The darkness lets the knots become texture instead of blemish.
Skip the middle-value blues or yellows; they catch unevenly where resin seeps through and turn patchy inside a month.
DIY or Hire Out
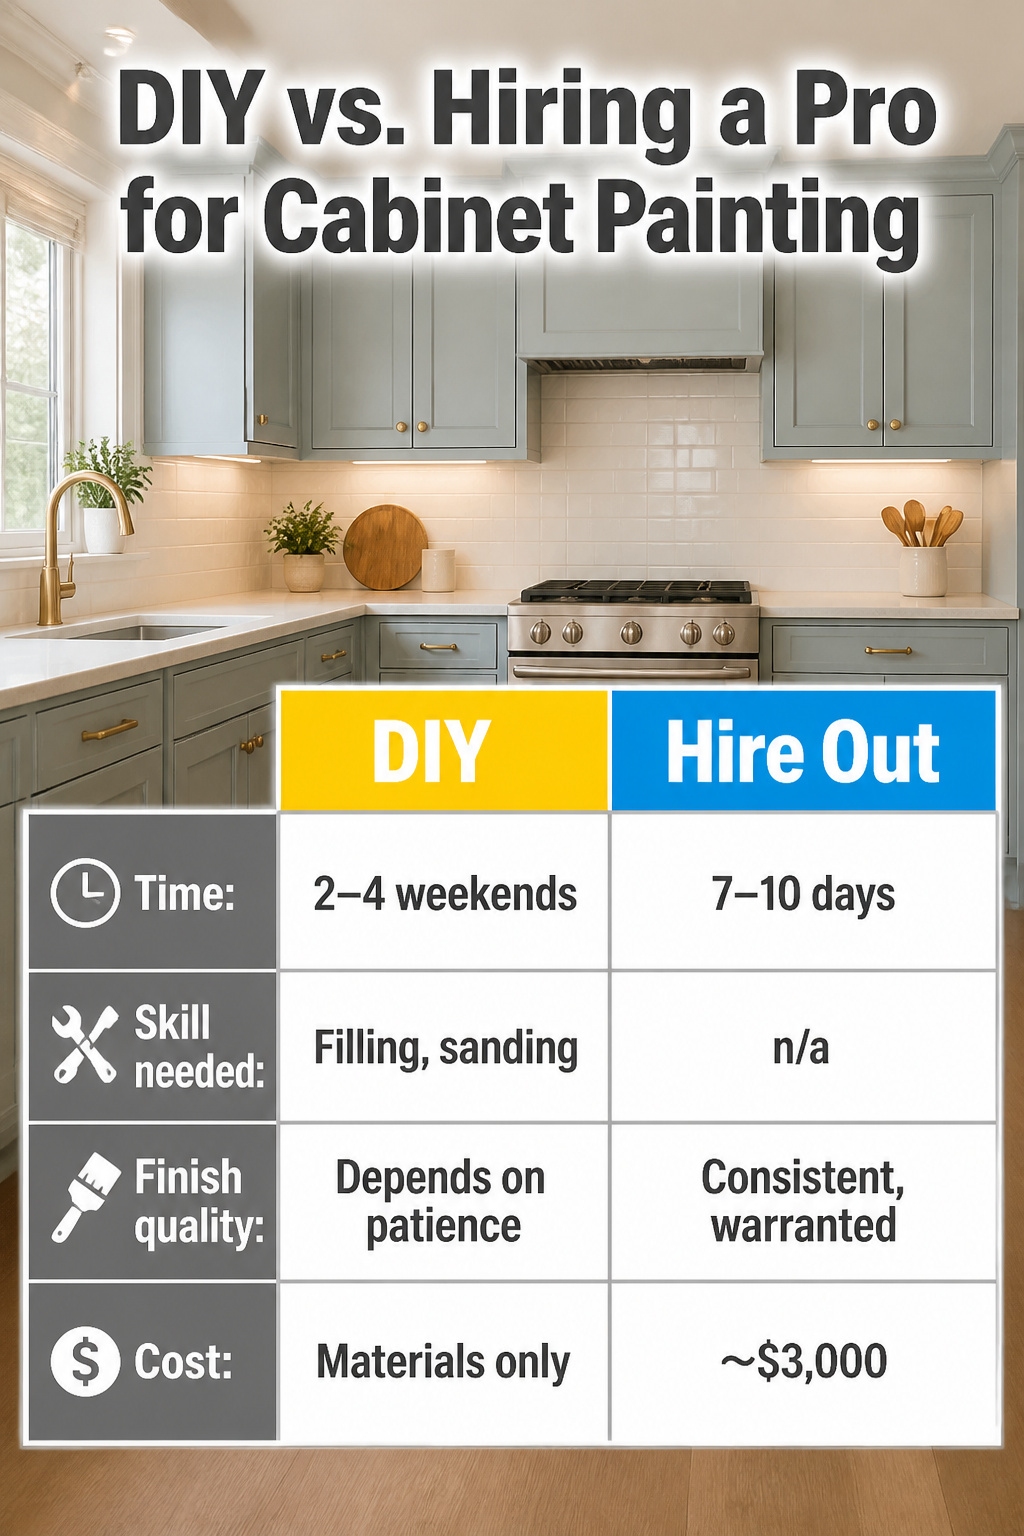
Professional cabinet painting runs about $3,000 and takes 7–10 days with the kitchen out of commission.
That timeline and price are what pushed me toward doing my own knotty alder cabinets, though after reading Jennifer Allwood’s account of priming, filling, sanding, painting, then filling again where knots settled, I see why pros charge what they do.
Her cabinets needed a second round of paint after that settling, which is the kind of mid-project surprise that turns a weekend plan into two lost weekends.
| DIY | Hire Out | |
|---|---|---|
| Time | 2–4 weekends, kitchen usable between coats | 7–10 days, kitchen fully out |
| Skill needed | Filling, sanding, spotting when knots telegraph through | n/a |
| Finish quality | Depends on patience with fill/sand cycles; knots may settle later | Consistent, warranted |
| Cost | Materials only; no reliable total published | ~$3,000 |
The real question is whether you trust yourself to catch every knot and crack the first time. Allwood’s crew missed some that showed up after the first paint coat.
If that sounds like your personal nightmare, the three grand buys peace of mind. If you have more weekends than dollars, the DIY route works, just budget for extra filler and a second round you might not have planned on.
What Can Go Wrong
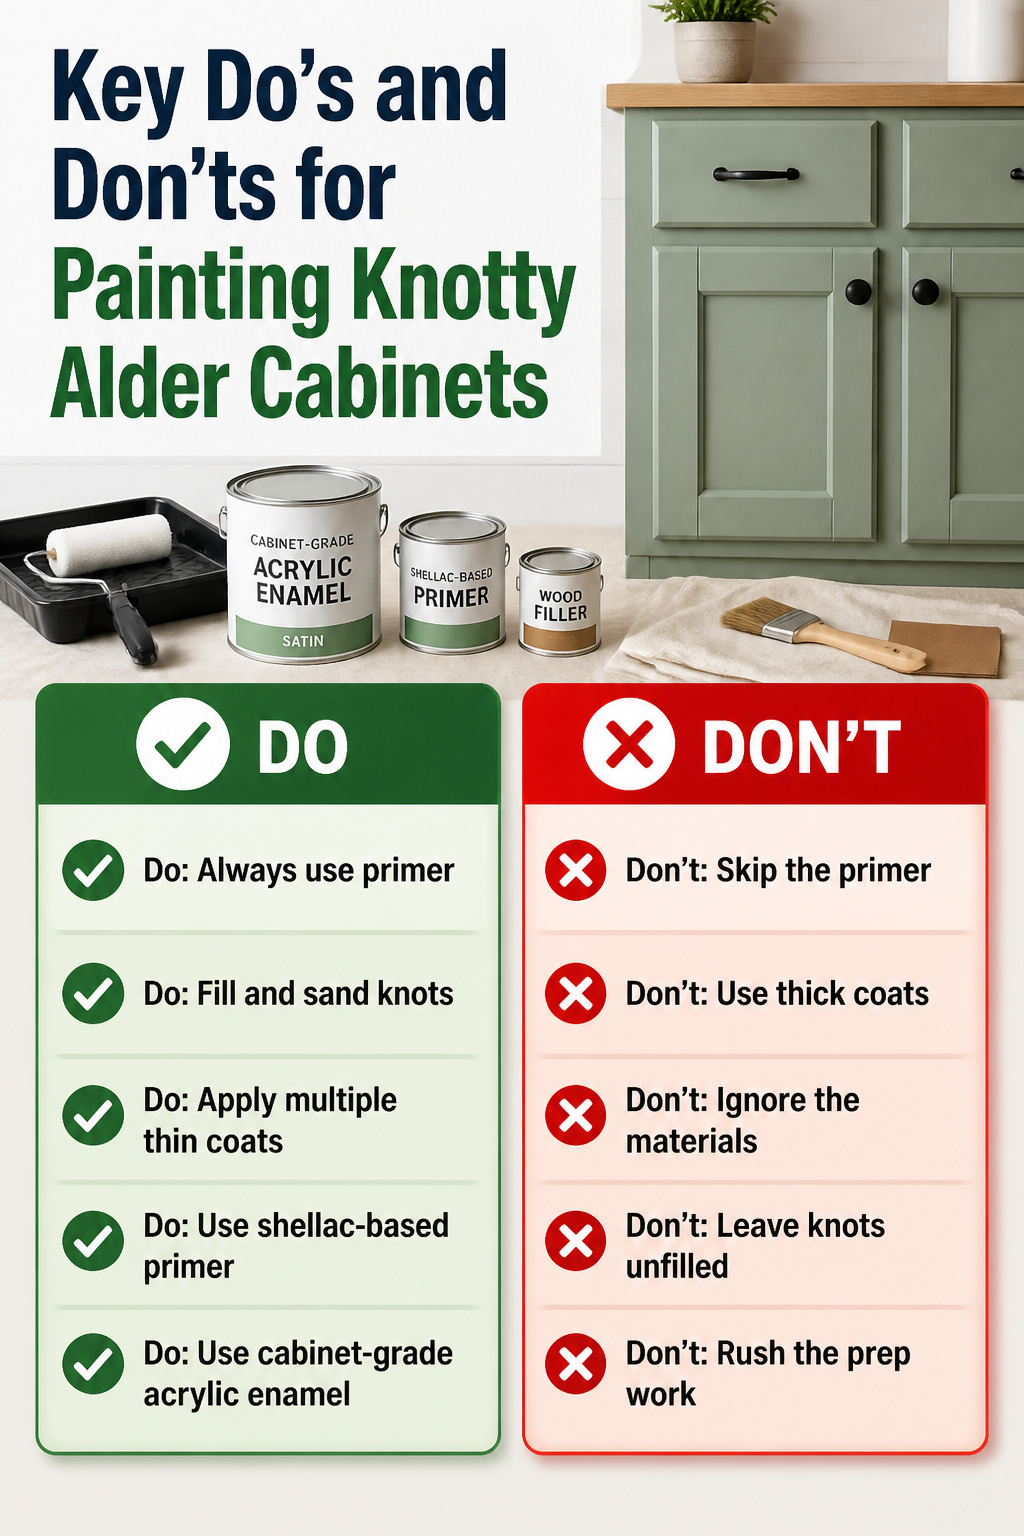
Knotty alder cabinets can be painted, but the wood fights back if you rush the prep. Those knots are resin pockets waiting to bleed through your finish, and alder’s soft grain drinks paint unevenly without help.
The mistakes I see most often start with assuming primer is optional. Skipping it leaves the wood thirsty; your first coat of paint sinks in patchy and never levels out.
Unfilled knots do worse. Within weeks, amber resin pushes through the surface, creating halos that no amount of topcoat hides.
The fix is not more paint but backing up: dig out the soft center, pack with filler, sand flush, prime again.
Thick coats are the other trap. One heavy layer looks efficient until it wrinkles, sags, or cracks across the cabinet frame as it cures.
Multiple thin coats, each dried before the next, build the film that survives cabinet duty.
Materials matter here. A shellac-based primer blocks the tannins and resins better than standard latex on this species.
For paint, a cabinet-grade acrylic enamel holds up to daily handling. Budget for filler, primer, two color coats, and a protective topcoat.
Time and materials run higher than on a smooth wood, but the alternative is a finish that looks settled and tired before the hardware goes back on.
Finishes for Each Type
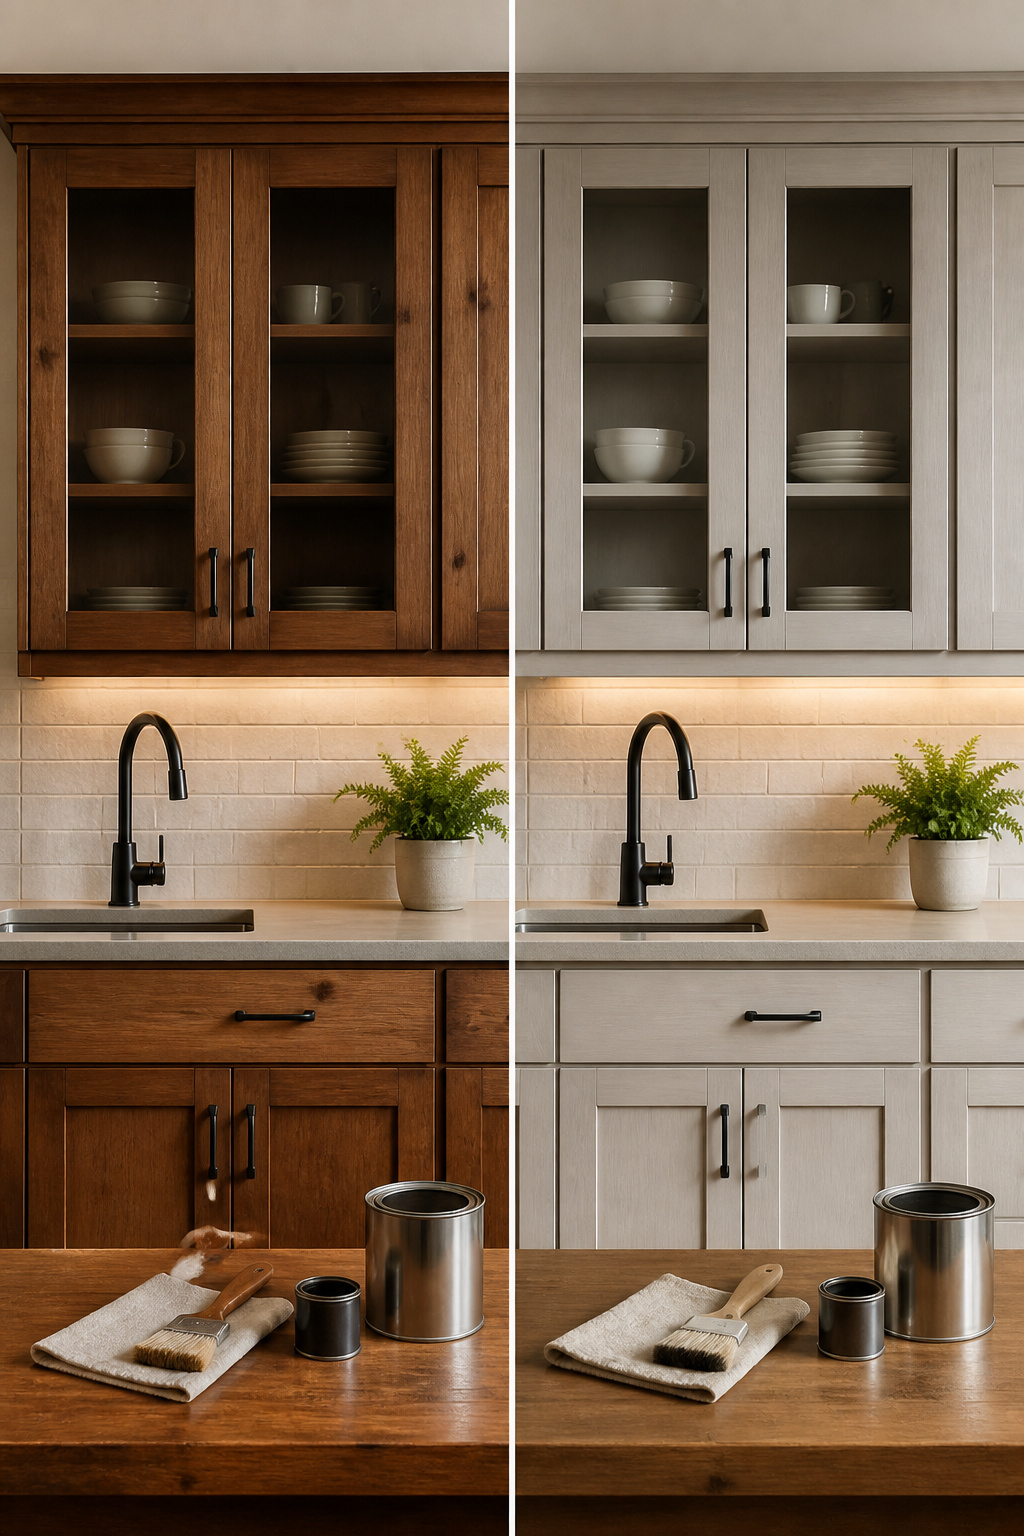
Knotty alder and clear alder ask for different finishes because they are trying to achieve opposite things. Clear alder, with its smooth grain and no knots, suits a clean, contemporary look.
A light gray or cream finish plays up that even surface and keeps the cabinets feeling modern. Knotty alder, full of splits and knots, leans into rustic character.
Darker browns or deep greens work with the texture rather than against it, letting the knots read as intentional rather than messy.
The real split comes with paint. Paint on knotty alder does not hide the knots; it can make them look like dark spots or cracks that were meant to be filled.
One approach is to leave them alone and accept a rustic painted look; the other is to fill them first with wood filler, sand smooth, and effectively turn knotty alder into a different material.
That second route takes more time and costs more, but it is the only way to get a smooth, uniform painted finish on a wood that was chosen for its imperfections.
Frequently Asked Questions
What is the best way to paint knotty alder cabinets?
u003cpu003eThe best way starts with a full teardown, then three rounds of cleaning, filling every knot and crack with wood filler, sanding through 80-, 120-, and 220-grit, applying a wood-specific primer in two coats, and finishing with two or three thin coats of cabinet-grade paint plus a protective topcoat.u003c/pu003e u003cpu003eKnotty alder’s resin pockets and open grain will ruin the finish if you skip any of these steps.u003c/pu003e
How long does it take to paint kitchen cabinets?
u003cpu003eProfessionals need 7–10 days with your kitchen fully out of commission. Doing it yourself takes two to four weekends, though you can usually cook between coats.u003c/pu003e u003cpu003eEither way, knotty alder often demands extra time because its knots can settle after the first paint coat and need another round of filling and sanding.u003c/pu003e
What colors work best for knotty alder cabinets?
u003cpu003eDarker shades like brown or deep green bring out the rustic character of knotty alder and let the knots read as intentional texture rather than blemishes.u003c/pu003e u003cpu003eLight grays and creams suit clear alder’s smoother grain, but on knotty alder they can make the knots look like dark spots or unfilled cracks.u003c/pu003e