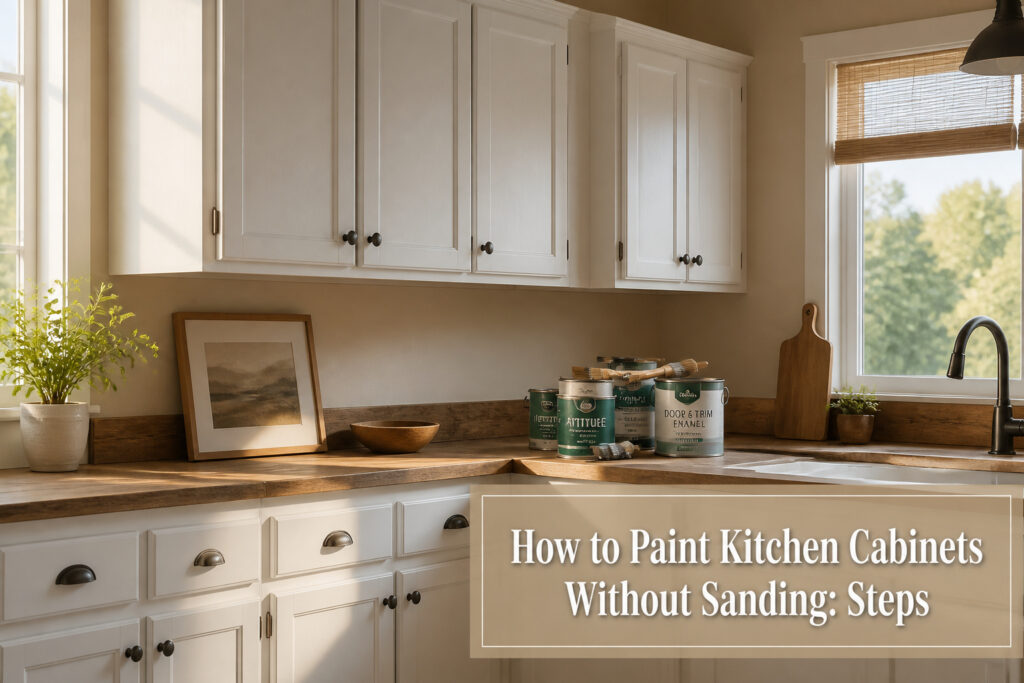
A kitchen cabinet repaint that skips sanding can be finished in a weekend for the cost of primer, paint, and a few tools, but only if the grease comes off first.
The most common failure point is not the paint or the primer; it is the cleaning step that most guides rush past.
Krud Kutter and a rag will cut what dish soap leaves behind, and without that, the finish chips within a year.
1. Remove Cabinet Doors and Hardware
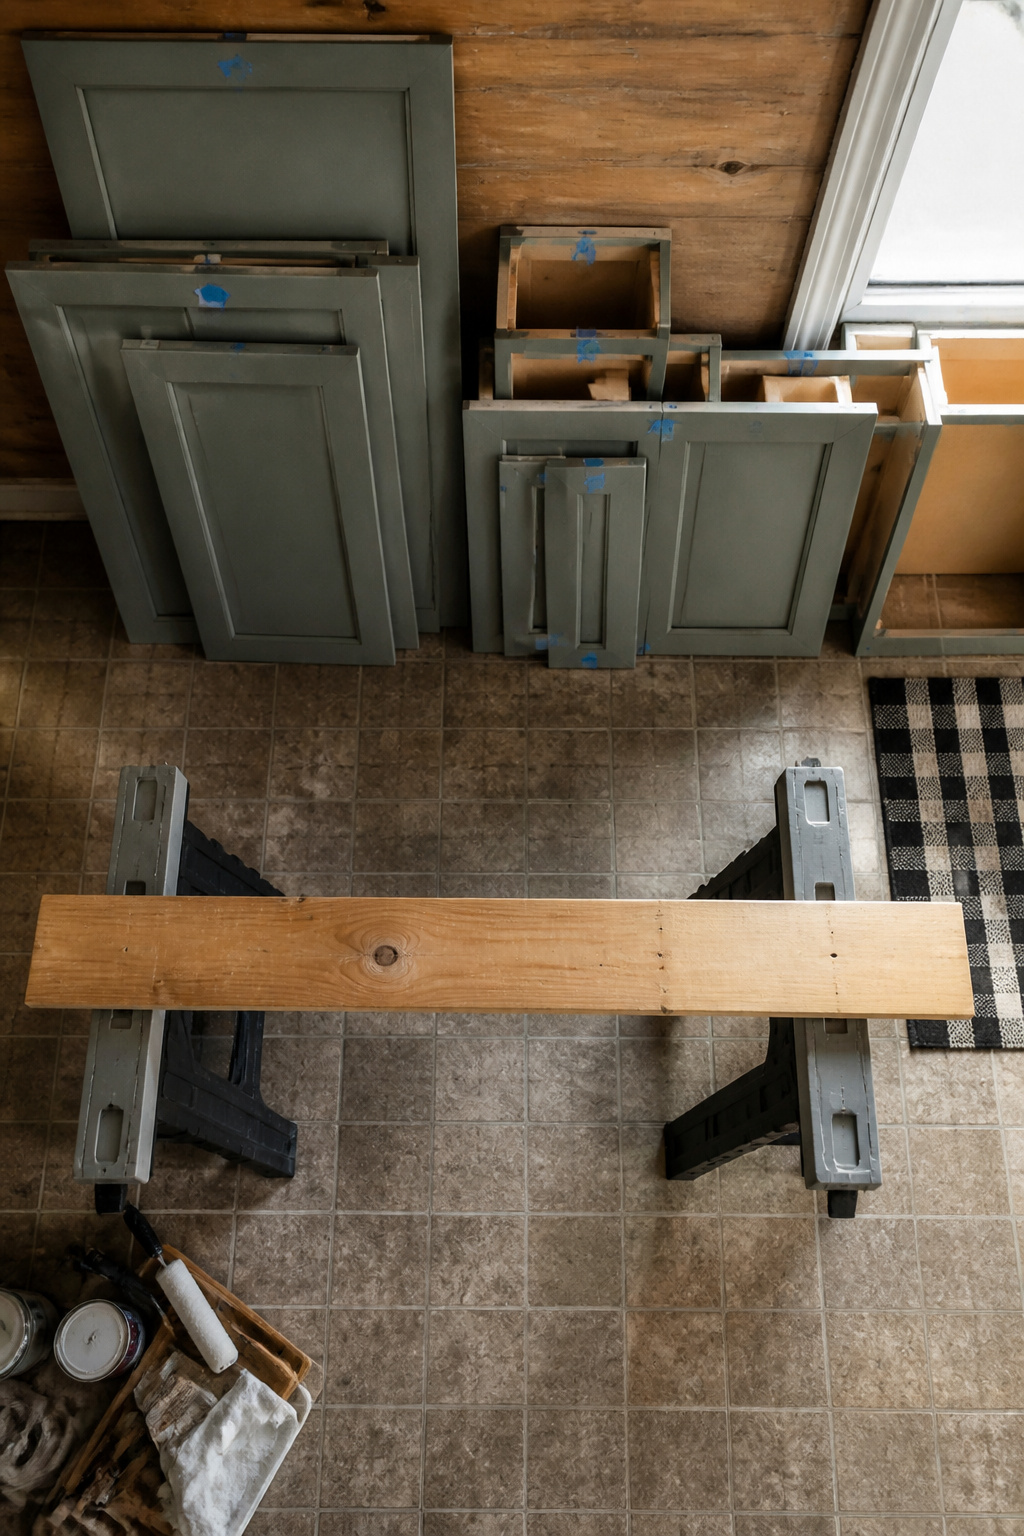
The first time I tried skipping labels, I spent forty minutes on reassembly with a door that never hung quite right again.
Painter’s tape and a Sharpie cost about four dollars and repay themselves in the first ten minutes of labeling. Number each door, drawer front, and hinge, then stick a matching piece of tape on the cabinet box behind it.
I write the numbers inside the hinge mortise where paint will not reach.
Drawers come out completely; do not try to paint around them. Hinges, knobs, and pulls go into labeled plastic bags so screws stay with their hardware.
Stack doors vertically against a wall, not flat on the floor, so air reaches both faces if you decide to paint backs later. Chris Loves Julia used Dixie cups as props for doors during painting; cheap and stable.
A second set of hands keeps doors from dropping while you free the last hinge screw. If you are working alone, support the door from below with a spare 2×4 across two sawhorses before loosening anything.
Recommended Products
Wipe on cleaner and de-glosser


Ample Quantity: you will receive 3 pieces containing 120 deglosser surface prep wipes in total; This ample supply helps you handle various paint preparation tasks with ease; These degreaser wipes are ready for multiple projects around the house
2. Clean Surfaces Thoroughly
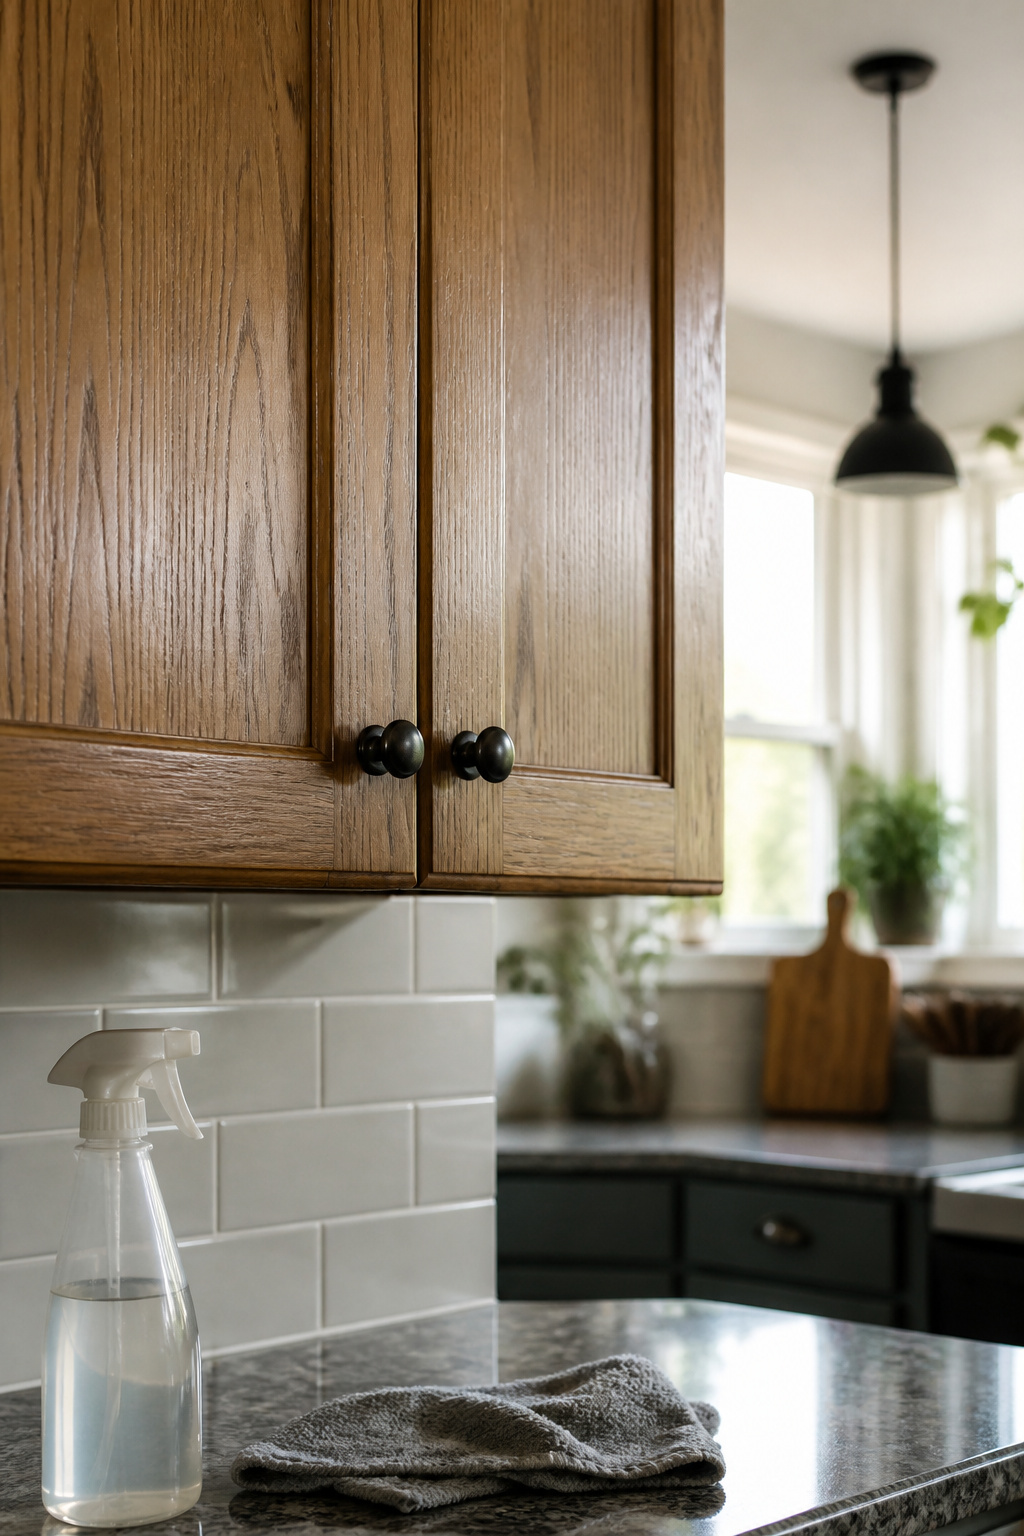
Years of cooking grease settle into cabinet grain where primer and paint simply cannot grip.
The first time I tried skipping straight to a bonding primer, the finish started chipping within eleven months, right along the door edges where hands pull every morning.
Skipping the degrease is the most common reason painted cabinets fail within a year.
Krud Kutter or a TSP substitute will cut through the buildup that dish soap leaves behind.
Spray it on, scrub with a slightly damp rag or paper towel, and pay extra attention to the cabinet fronts nearest the stove and the frames around the sink.
Those spots collect the most residue, and they are the first to bubble or peel if any grease remains. Rinse until the water running off the surface is clean, not cloudy.
A tack cloth after drying picks up any last dust the rag missed. The paintable surface should feel slightly tack-free and uniformly dull before you move on.
Recommended Products

20 YEARS OF NORTH-AMERICAN EXCELLENCE: The preferred choice of professional woodworkers and DIYers in North America. SamaN also promotes greener products.
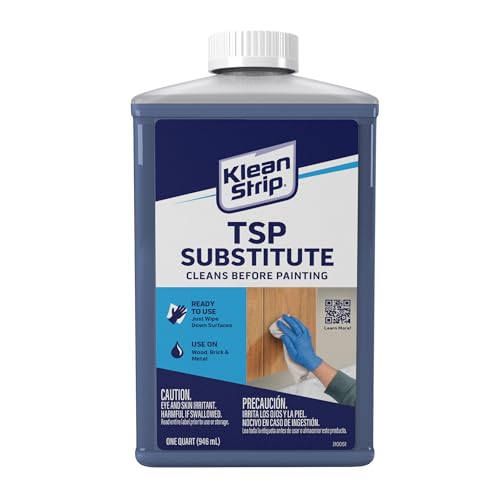
This item is Klean-Strip 0408 TSP Trisodium Phosphate Substitute No-Rinse Quart

KITCHEN CABINET DEGREASER THAT WON'T STRIP THE FINISH - Built on 50 years of family cabinet refinishing, not by a chemical company. This cabinet cleaner degreaser lifts cooking grease off wood and painted cabinets without attacking the factory coating underneath.
3. Apply Liquid Deglosser
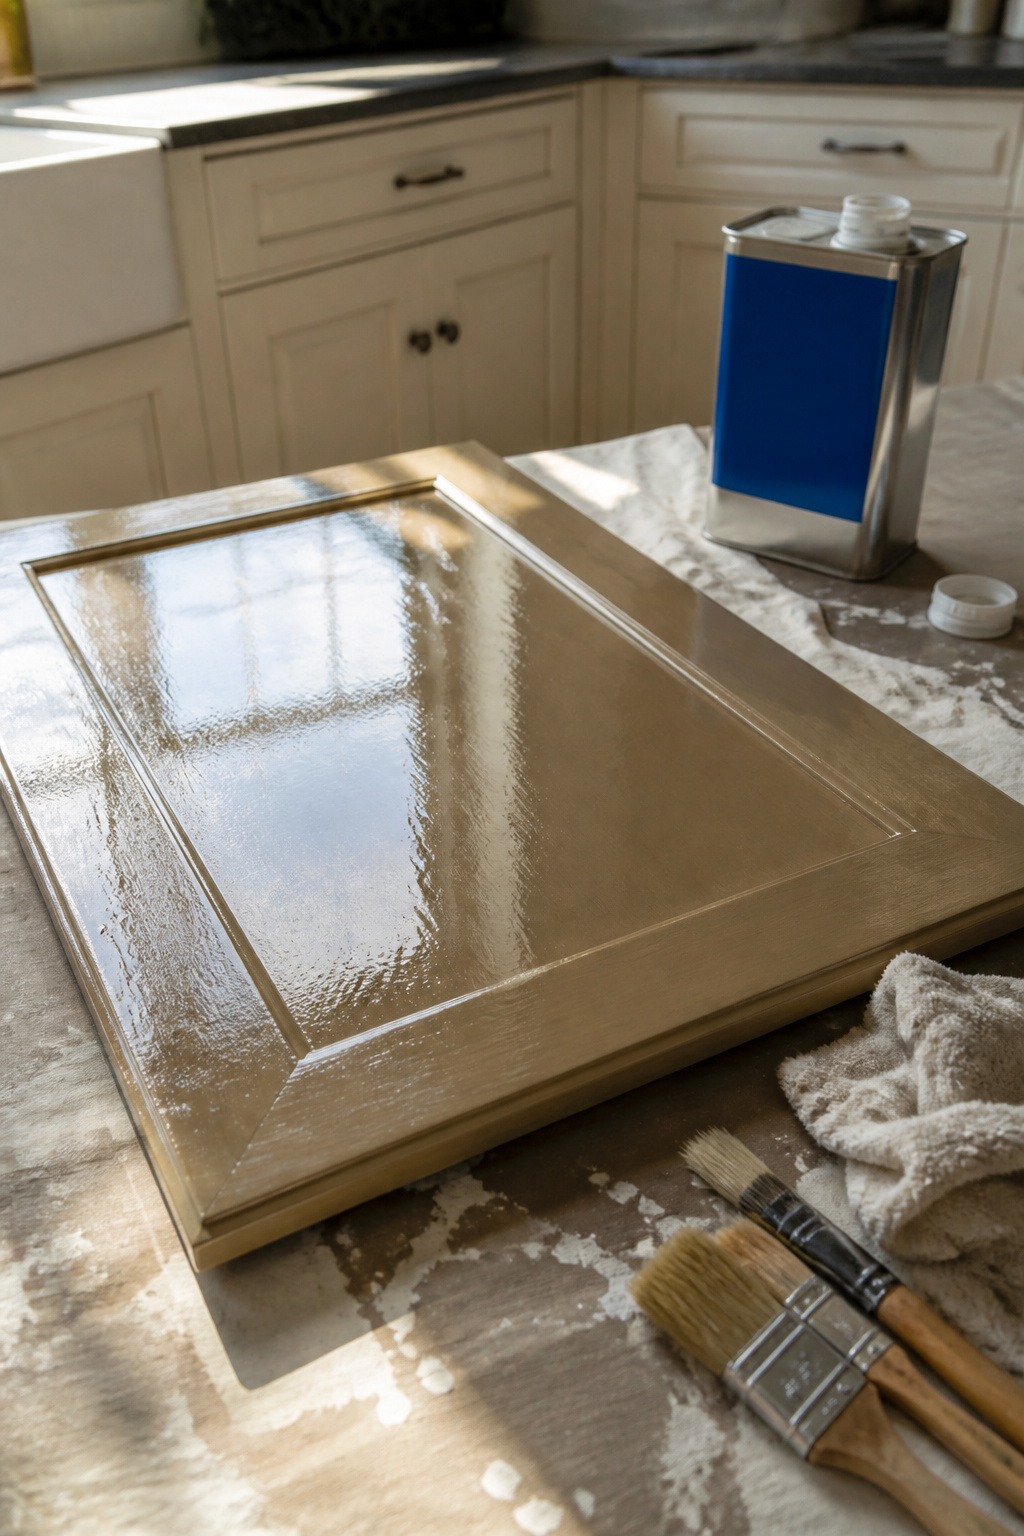
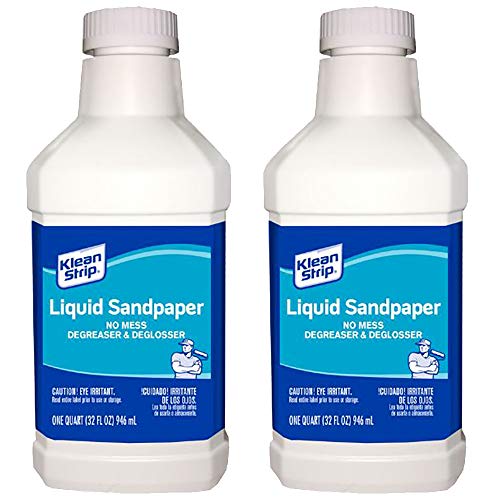
Liquid deglosser replaces sanding by chemically dulling the existing finish so primer can grip without a speck of sawdust.
Klean-Strip Liquid Sandpaper is the product most sources name, though Jasco Easy Liquid Sander Deglosser has its fans too and works across paint, varnish, enamel, lacquer, polyurethane, and stain.
Pour it onto a clean rag, then wipe in one direction rather than scrubbing back and forth.
Let it flash dry per the manufacturer’s timing, run a tack cloth over the surface to catch any lint, and the cabinets are ready for primer. No sander, no dust-coated kitchen, no weekend lost to prep work.
Recommended Products
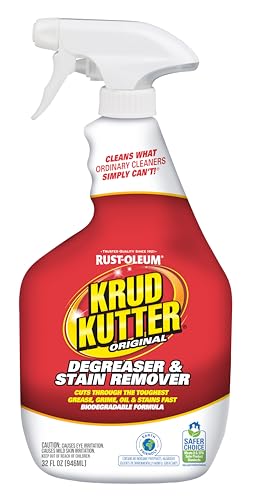
Heavy Duty Degreasing Performance Helps break down grease, oil, grime, wax, and tough stains across a wide range of surfaces.
FOAMING SPRAY ACTION: Aerosol foam clings longer to help cut tough grease, oil, grime, tar and wax fast

CUTS GREASE AND GRIME: Concentrated cleaner degreaser is designed to cut grease, oil, grime, tar and wax fast
4. Prime With Bonding Primer
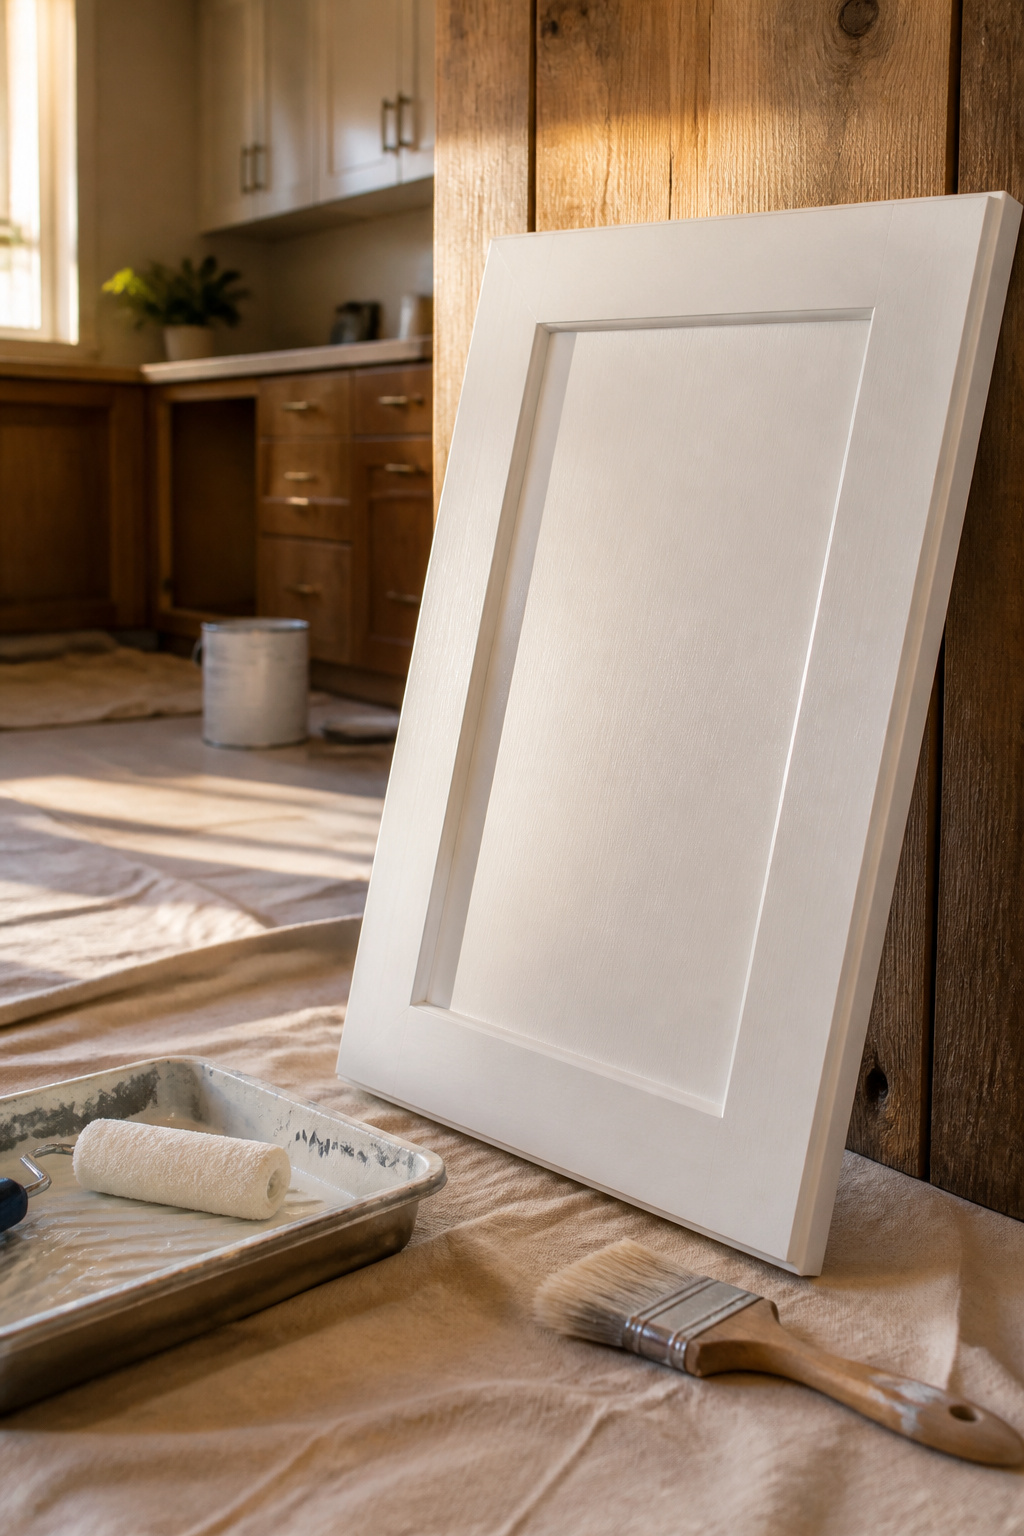
Bonding primer is what lets paint grip glossy cabinet surfaces without sanding first. The two formulas sources recommend most are Zinsser 1-2-3 and Kilz Adhesion; either one creates the sticky foundation everything else builds on.
One coat, rolled thin across flat surfaces and brushed carefully at edges and corners, is usually enough.
A mohair roller lays down the even layer you want on door fronts, while a quality brush works the primer into corners where rollers miss. Let that coat dry fully before moving on.
Some cabinets, especially ones carrying a dark or red-toned old finish, may need a second coat for full coverage, but start thin and judge after the first pass dries.
The real test of a bonding primer is what happens next. Paint sprayed or rolled over it should grip hard enough to survive daily kitchen use, and the primer itself should block stains and discoloration from bleeding through.
Zinsser’s formula is ready to paint over in about 30 minutes, which keeps a weekend project moving. Kilz offers a spray version too, though I have not tested that myself and stick to brush and roller for control on cabinet faces.
Skip this step and the paint you put on top is working without glue. The primer is the glue.
Recommended Products
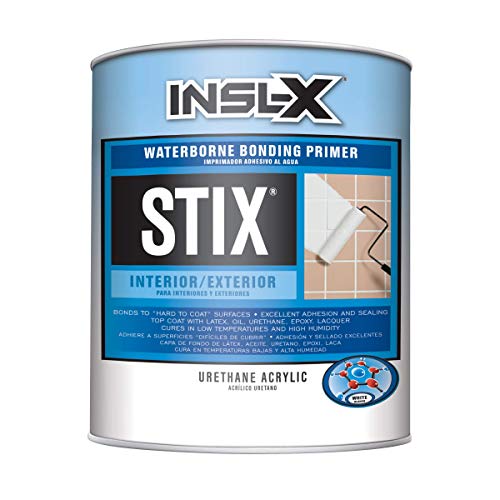
Premium-quality, acrylic-urethane bonding primer-sealer with unparalleled adhesion to the most challenging surfaces, including glossy tile, PVC, vinyl, plastic, glass, glazed block, glossy paint, pre-coated siding, fiberglass, and galvanized metals.
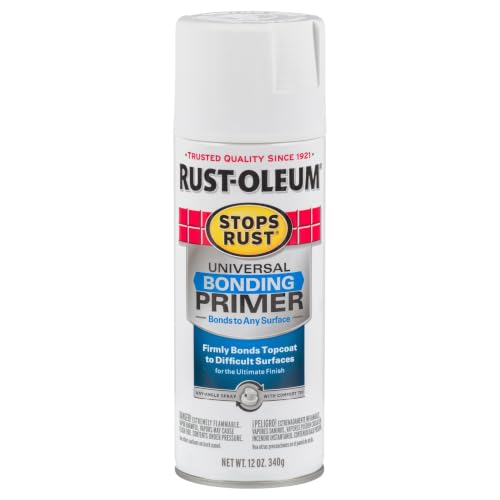
Exterior/interior use, great for galvanized steel, wrought iron, railings, furniture, laminate, PVC, porcelain, masonry, glazed brick and more

Remains flexible and breathable over time so it doesn’t peel or crack when the weather and temperature change throughout the seasons.
5. Paint Cabinet Doors and Frames
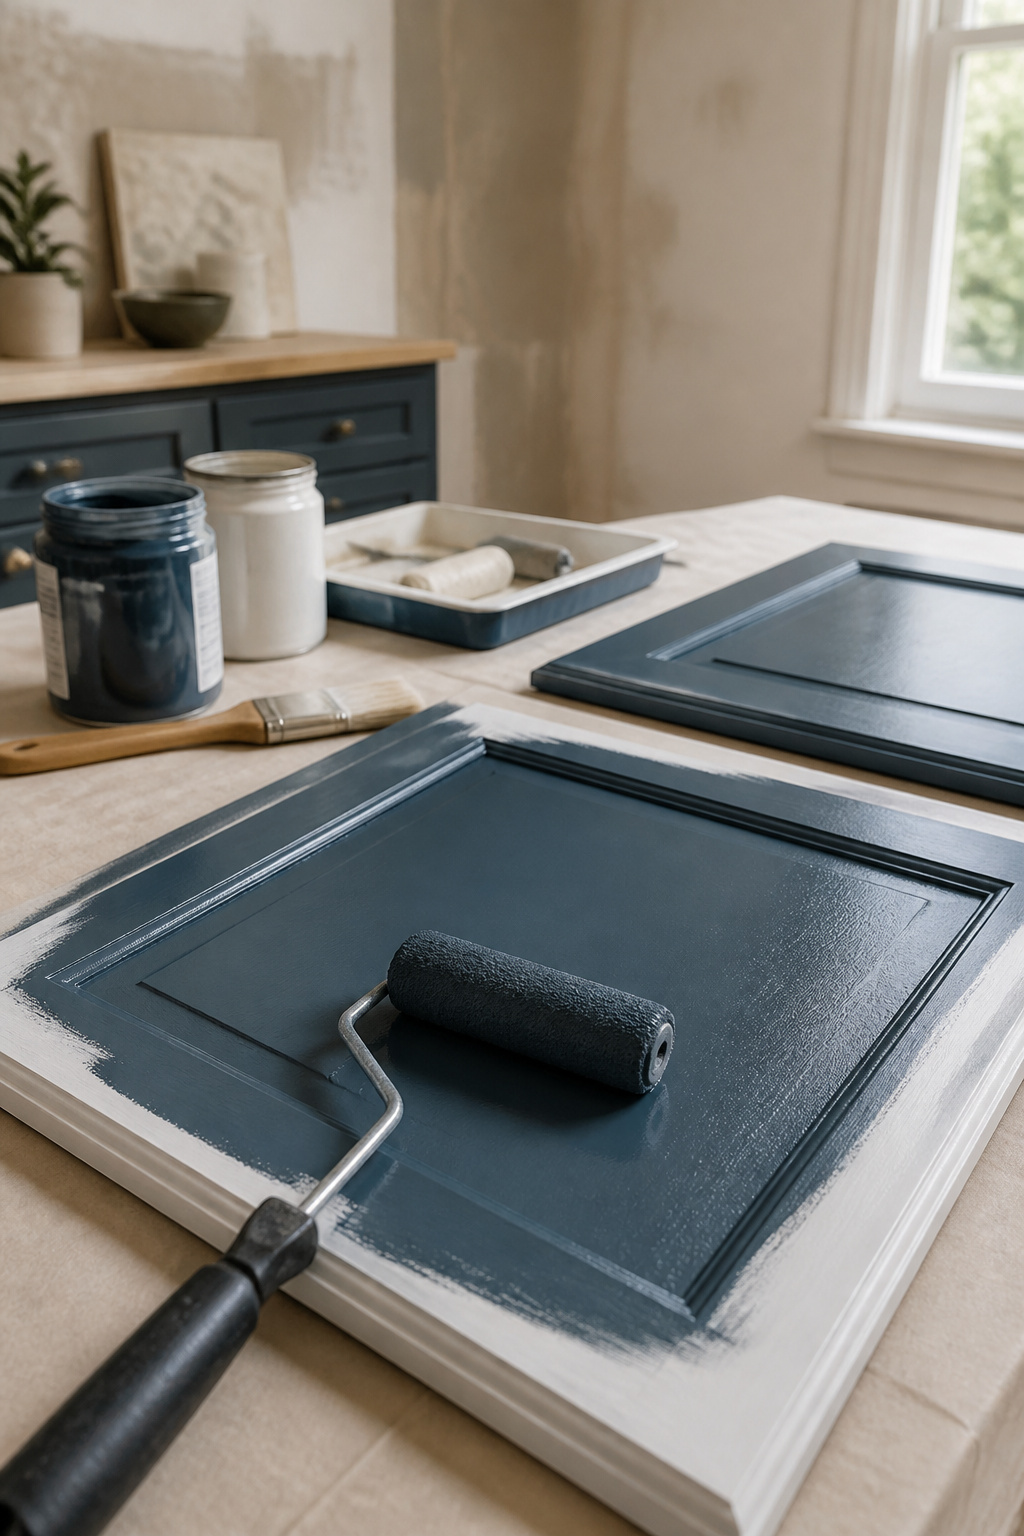
Cabinet-specific paint matters more here than most people expect.
General Finishes Milk Paint and Sherwin-Williams Infinity are the two that keep coming up in projects that actually survive daily kitchen use, and both are formulated to grip without the sanding step most guides insist on.
The finish comes down to tools. A mohair roller lays down the flattest film on broad surfaces, while an angled brush handles the edges and detail cuts where a roller can’t reach cleanly.
Thin coats are the part that tests patience: two or three of them, each drying fully before the next, beat one thick layer every time.
Thick paint runs, sags, and cures to a finish that looks like exactly what it is.
Six to eight hours between coats is the minimum most of these paints need; rushing it risks pulling up half-cured film with the next pass.
The General Finishes route calls for three coats of its High-Performance Top Coat after the color layers, applied with doors lying flat so nothing pools.
Too thick in spots and that topcoat dries with a yellow tinge that no amount of daylight fixes.
Flat finish on the topcoat knocks down light reflection and makes remaining wood grain less visible; gloss or semi-gloss will highlight every bit of texture the paint didn’t fill.
Recommended Products

STRONG ADHESION: High sticking power on smooth surfaces including glass, wood, and painted walls for reliable performance

Mounts damage-free on refrigerators, walls--even out of sight in cabinets and pantries

Fits standard .94" rolls of painter's or masking tape available in most stores
6. Apply a Protective Topcoat
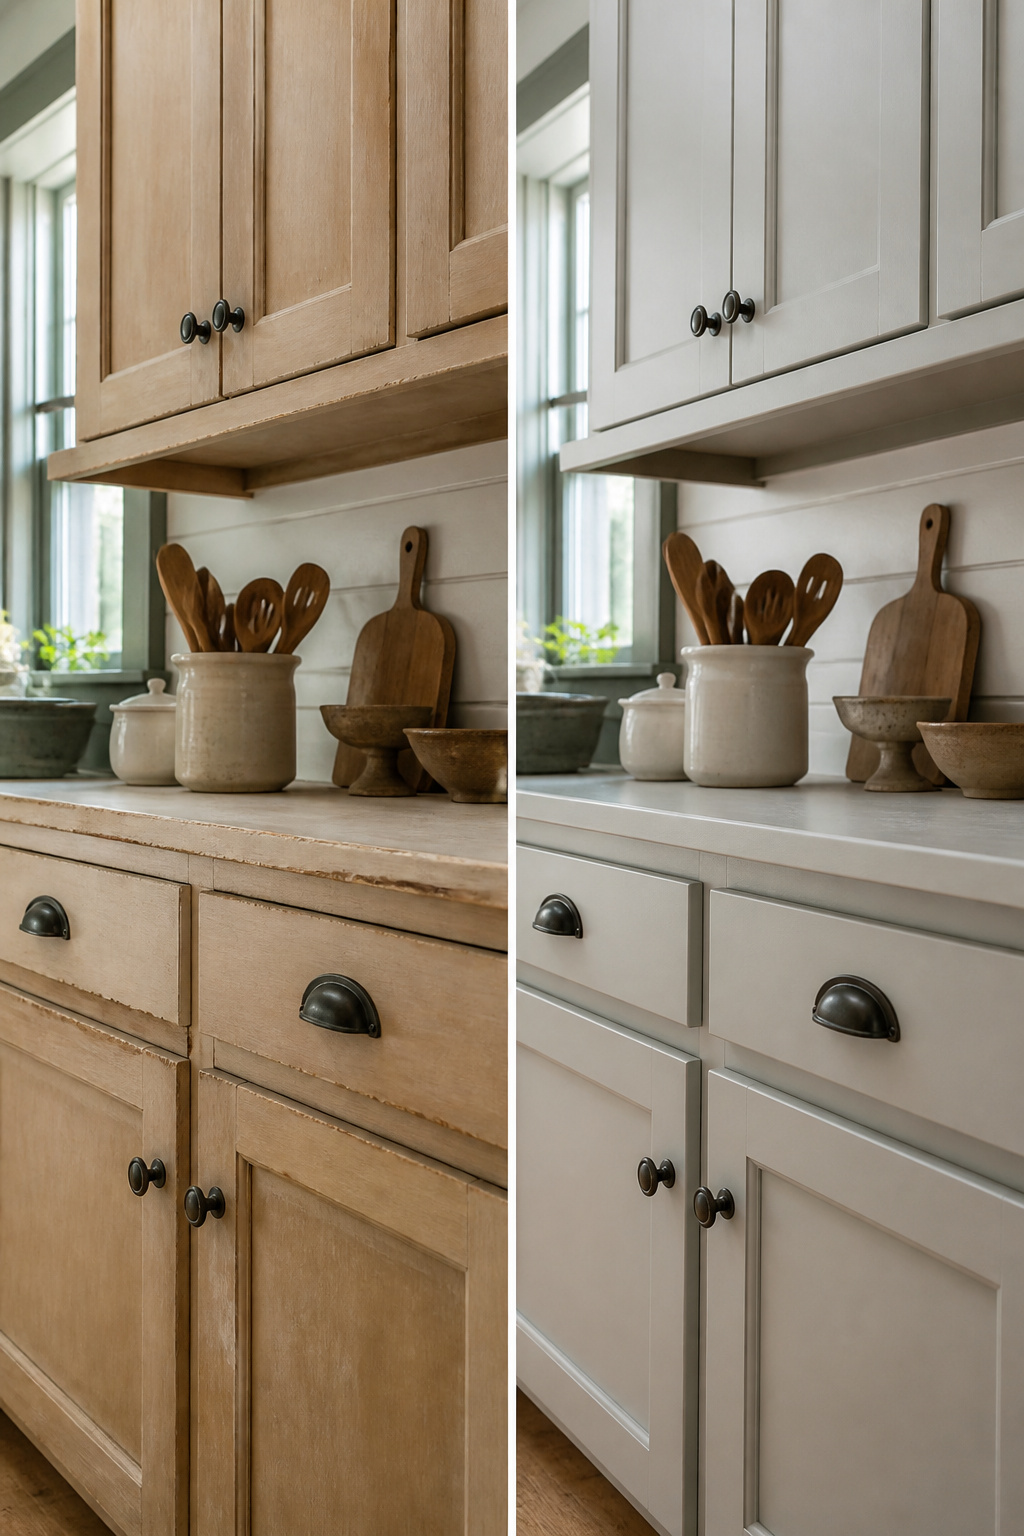
A topcoat is optional on cabinets that stay closed most of the day, but anywhere hands land dozens of times daily, three thin coats of General Finishes High Performance Water-Based Top Coat move it from recommended to close to required.
The finish adds a layer of hardness that lets the paint survive years of opening, closing, and wiping down without going soft or picking up stains.
I would keep doors flat while the topcoat goes on; brushing three thin layers across a horizontal surface is what prevents the pooling that dries with a yellow tinge.
A flat sheen also reflects less light, which makes any remaining wood grain less visible than gloss or semi-gloss would. Expect to use about half a gallon across a full kitchen’s worth of cabinets.
The paint underneath is already durable, but the topcoat is what gives it the kind of finish that still looks clean after a toddler’s third peanut-butter handprint of the morning.
Recommended Products
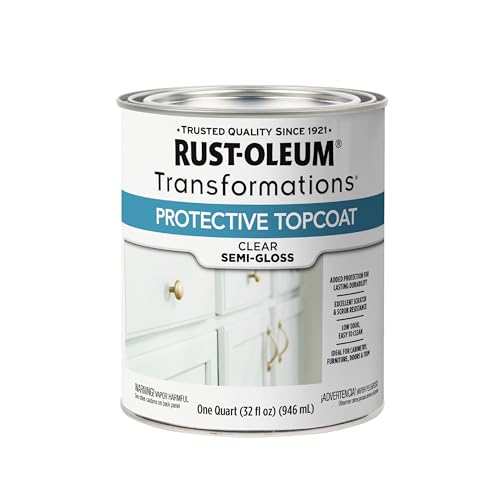
SCRATCH & STAIN RESISTANT PROTECTION: Resistance to everyday scratches and stains, providing a durable protective layer for interior painted, stained, or bare wood surfaces

FOAMING CABINET CLEANER Thick clinging foam works in seconds to break down grease, fingerprints, grime and everyday kitchen buildup. Spray directly onto cabinets and wipe clean without heavy scrubbing.

7. Reattach Doors and Hardware
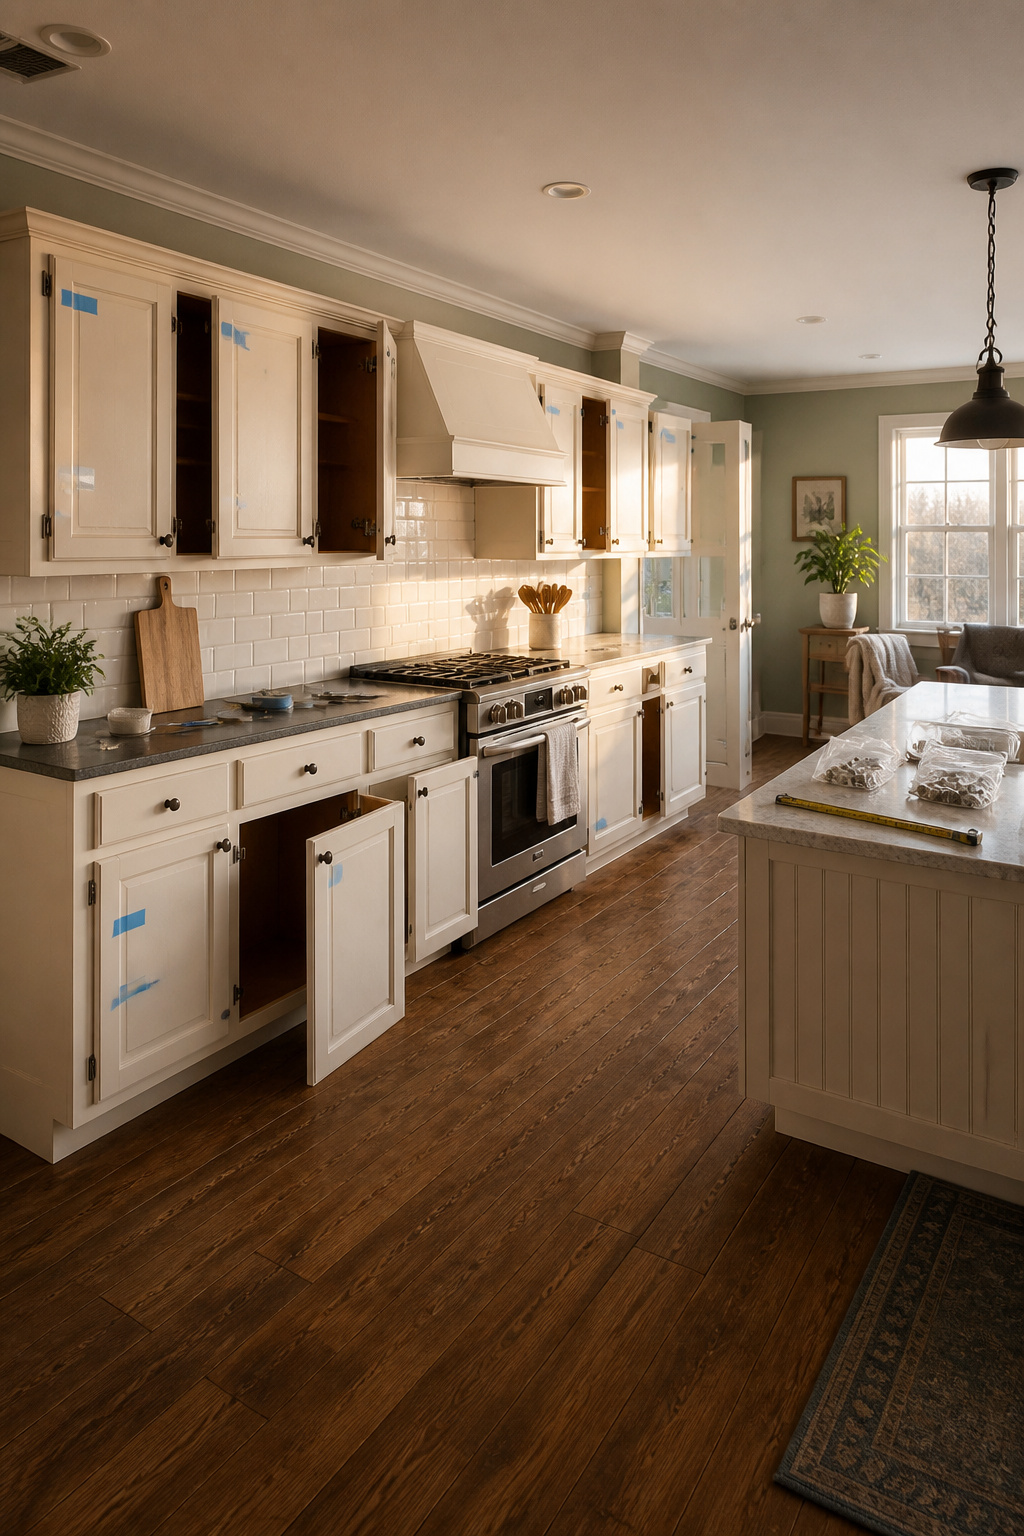
Reattach every hinge, knob, and pull exactly where the label says it belongs. That numbered tape you stuck on during removal earns its keep here.
One mismatched door and the whole kitchen reads as a DIY job rather than a finished room.
Rehanging is where you discover whether the labeling was done right. Doors that fought you on the way down will fight harder going up if the tape wandered.
Work methodically: one cabinet at a time, hinges first, then hardware. The brass knobs Chris and Julia used on their dark cabinets pop once they are straight, but nothing pops if the screw sits crooked in a fresh paint layer.
Adjust hinges until each door sits flush and every gap reads even. European hinges have two screws that shift the door in and out, up and down.
Turn them in small increments. A gap that looks off by an eighth of an inch catches light all year.
Stand back at cabinet height, not above it. The perspective from a stool flatters nothing.
Drawer fronts are the last test. A pull that sits even slightly off-center draws the eye every morning.
Measure twice, drill once, or use the original holes if they are not buried too deep in paint.
Recommended Products

Use TSP to clean surfaces after using paint/varnish removers

Removes Heavy Dirt, Grease, Grime, Smoke And Soot Stains
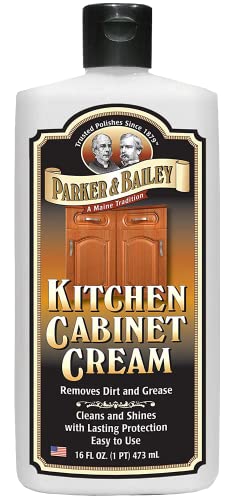
Cleans years of built-up grease and food stains from kitchen cabinets without harsh chemicals or sticky residue
What You’ll Need
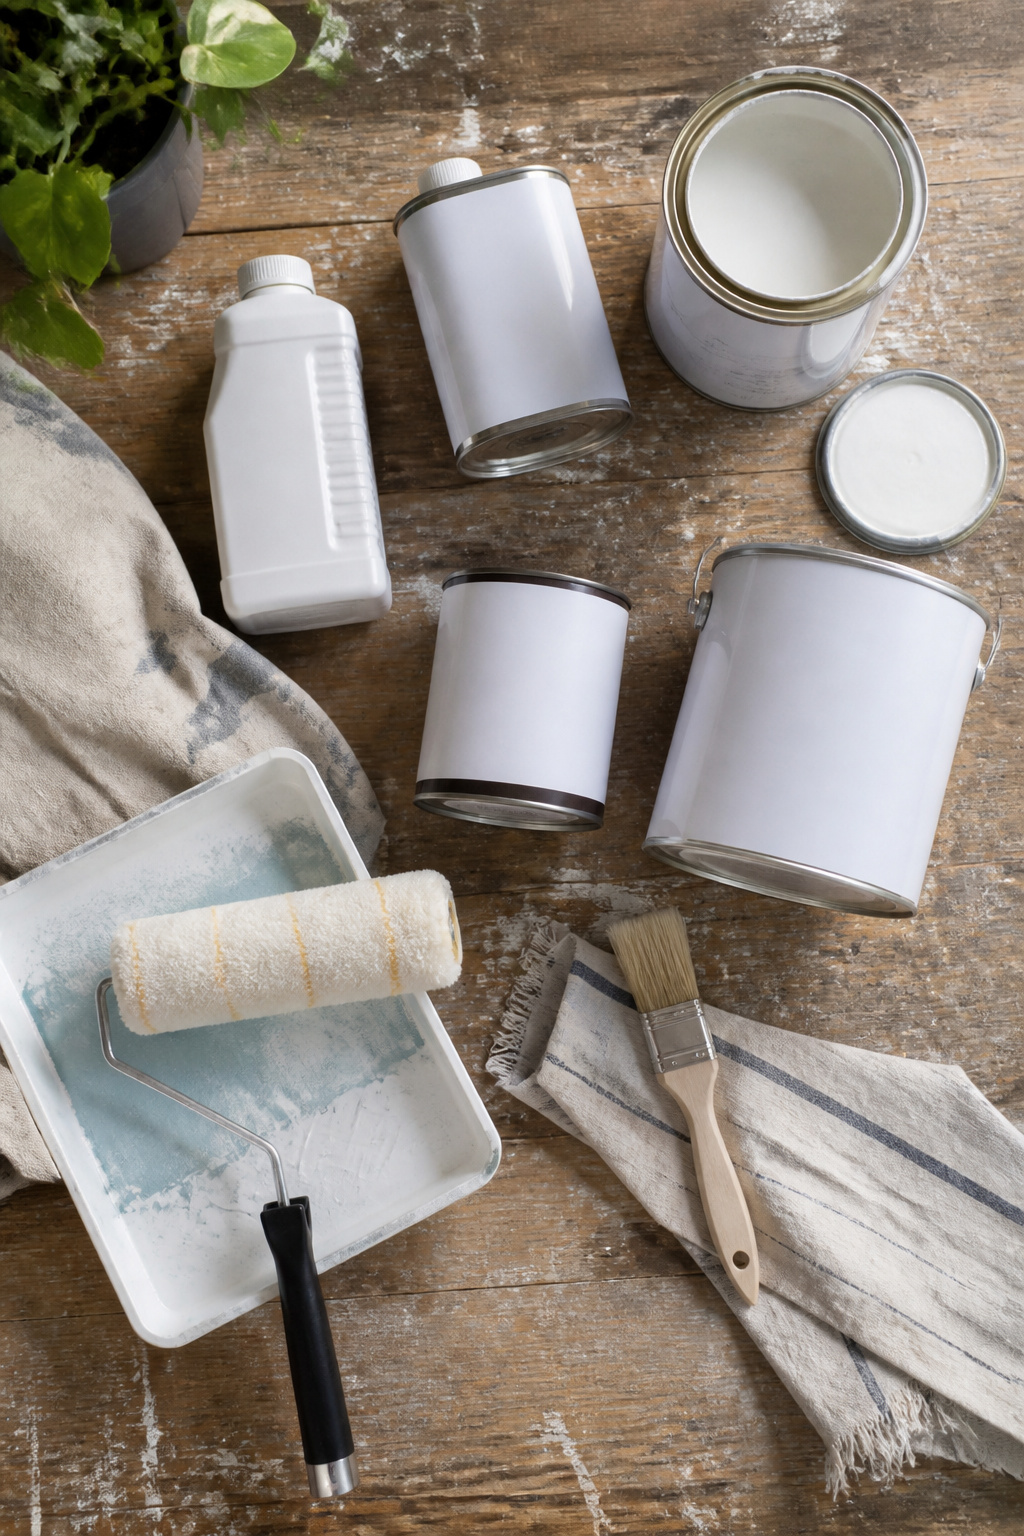
Most of these items do one specific job, and skipping it shows up later in chipped corners or peeling doors.
- Heavy-duty degreaser (Krud Kutter or a TSP substitute) – Cuts the kitchen grease that dish soap leaves behind. Paint over that residue and it will release within months.
- Liquid deglosser (Klean-Strip Liquid Sandpaper is the one I keep seeing) – Chemically roughs the existing finish so primer can bite. It is not a cleaner; use it after degreasing, not instead of.
- Bonding primer (Zinsser 1-2-3 or Kilz Adhesion) – Regular primer expects a sanded surface. These are formulated to grip glossy, sealed cabinets without one.
- Cabinet paint – General Finishes Milk Paint goes on smooth and self-levels well; Sherwin-Williams Infinity holds up to daily wiping. Standard wall paint softens and mars under cabinet use.
- Optional topcoat (General Finishes High Performance Water-Based Top Coat) – Three thin coats of this over Milk Paint buys you years. Skip it and the paint itself carries all the wear.
- Mohair roller – Lays down a smoother film than foam, which can bubble on large flat doors.
- Angled brush – Cuts in at hinges and inside frames where a roller will not reach.
- Painter’s tape – Worth the few minutes if you are not confident cutting freehand against walls.
- Labels – Masking tape numbered to each door keeps hinge holes aligned on reassembly. A pencil mark on the tape beats guessing which middle cabinet door went where.
Recommended Products

Removes tough, oily, greasy, grimy, gooey problems, 128 ounce jug

Removes Latex Paint from Multiple Surfaces Helps break down dried and fresh latex paint on floors, tile, wood, and other hard surfaces.

Water based, non-toxic, biodegradable, non-flammable and xylene-free
Bonding Primer vs. Regular Primer
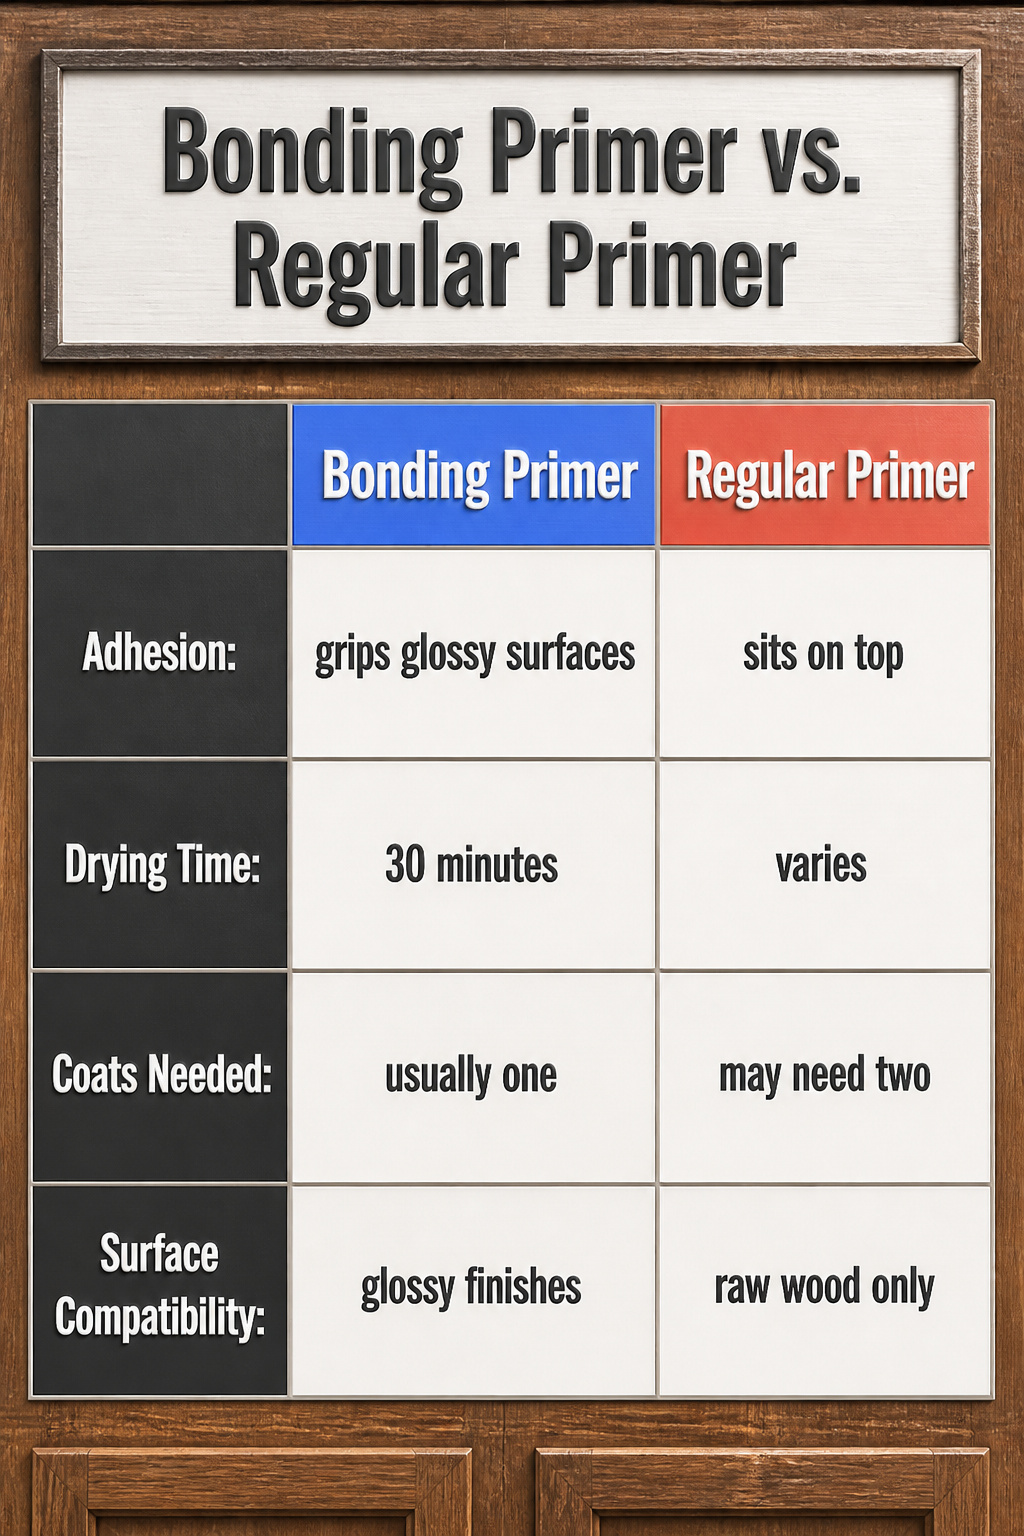
Regular primer is built to seal and cover, which works fine on raw wood or flat paint. Kitchen cabinets, though, usually carry a factory finish with some gloss left even after cleaning and deglossing.
That gloss is where regular primer fails: it sits on top instead of gripping, and paint laid over it can chip or peel within months.
Bonding primer uses resins that flex into glossy surfaces rather than coating over them. The chemistry creates a tacky, almost adhesive layer that paint can actually lock onto.
Skip it, and you are essentially hoping friction does the work of a mechanical bond.
One coat is usually enough if the old finish is intact and not too dark. Red-toned or heavily stained cabinets may need a second coat for full coverage, since bonding primer also has to block color bleed while it grips.
Dry time matters here: the Zinsser formula I have seen referenced goes to paint in about 30 minutes, but rushing the second coat traps solvent and weakens the whole stack.
Let it cure fully, especially on the backs of doors you will flip later.
Recommended Products

Premium-quality, acrylic-urethane bonding primer-sealer with unparalleled adhesion to the most challenging surfaces, including glossy tile, PVC, vinyl, plastic, glass, glazed block, glossy paint, pre-coated siding, fiberglass, and galvanized metals.

Transform dated countertops: Stone Coat Countertops Bonding Primer & Sealer creates a durable bond on slick surfaces like laminate, tile, granite, quartz, solid surface, and cultured marble, ensuring a strong foundation for epoxy applications.

Exterior/interior use, great for galvanized steel, wrought iron, railings, furniture, laminate, PVC, porcelain, masonry, glazed brick and more
Mistakes That Ruin Cabinet Paint
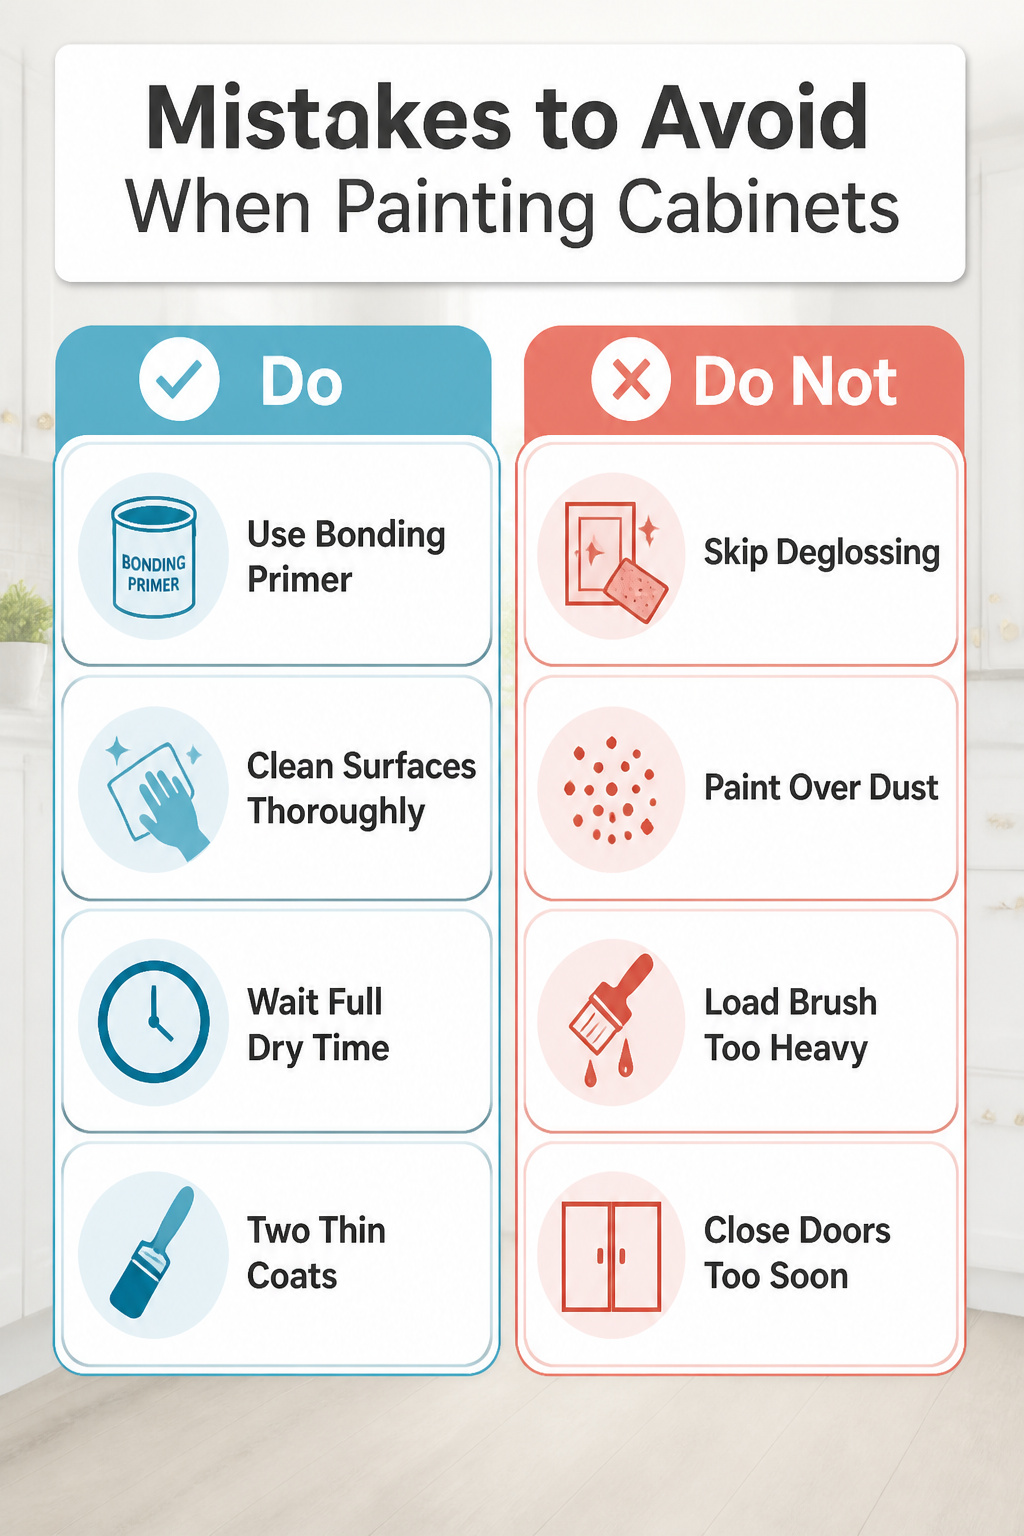
A few missteps turn a weekend cabinet refresh into a redo that costs another gallon of paint and two more Saturdays. The most common one is skipping the deglosser on glossy doors.
Paint sits on top instead of gripping, and you will not know until the first chip flakes off at the corner a week later.
Check your work by pressing a fingernail into an edge after the primer dries; if it slides or lifts, the surface was too slick.
Other errors to watch for:
- Painting over grease or dust. The primer beads up or fishtails, and the patchy spots show through every coat after. Wipe every surface twice, then run a tack cloth over it before you open the primer can.
- Using regular primer instead of bonding primer. Standard primer is built for porous drywall and raw wood, not factory-finished cabinets. Bonding primer is formulated to stick to smooth, glossy surfaces; without it, the paint layer above has nothing to grab.
- Loading the brush or roller too heavy. Thick coats sag on vertical frames, collect dust while they dry, and cure soft. Two thin coats cover better than one thick one and dry hard enough to sand between them.
- Pulling doors closed or stacking hardware before the paint has cured. The surfaces will weld together or imprint. Wait the full dry time between coats, and give the final coat at least seven days before heavy use.
Recommended Products
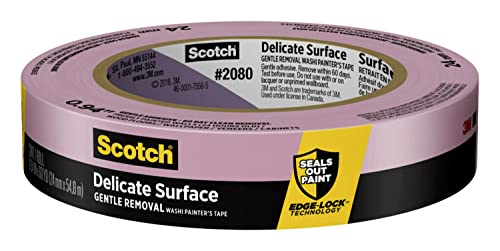
READY. SET. PAINT!: 1 roll of 0.94 inch wide Scotch Delicate Surface Painter's Tape, a versatile solution for protecting surfaces that require a little extra care when preparing to paint your living or working environment

Package Includes: 6 x Masking Tapes, Each 15 Yards Long With 0.6 Inch Thickness, In 6 Vibrant Colors

Professional Mask Tape - Multi-Surface adhesive tape made of high quality blue crepe paper not easy to lift or curl, has sunlight, UV, heat, moisture resistant, sturdy to use. So, blue tape painters tape is very much suitable for indoor and outdoor, office, home decoration, classroom. And, its paper use environment friendly material, harmless to human body, using blue paint tape can reduce the natural burden. Excellent blue masking tape for packaging, closing, and light duty masking and sealing.
Frequently Asked Questions
Can I paint over laminate cabinets?
u003cpu003eYes, with proper preparation and the right products. The process works on laminate as long as you degrease thoroughly, apply liquid deglosser, and use a bonding primer before painting.u003c/pu003e u003cpu003eThe article’s seven steps apply; just make sure the primer and paint you choose are rated for laminate surfaces.u003c/pu003e
How long does painted cabinetry last?
u003cpu003eWith proper prep and care, painted cabinets can last 5 to 10 years or more. The article emphasizes that skipping degreasing or the deglosser step is the most common reason finishes fail within the first year.u003c/pu003e u003cpu003eUsing bonding primer, thin coats of cabinet-specific paint, and a protective topcoat on high-traffic areas all extend that lifespan.u003c/pu003e
Do I need a sealer after painting?
u003cpu003eNot always, but a topcoat is recommended for high-traffic areas. The article specifies three thin coats of General Finishes High Performance Water-Based Top Coat for anywhere hands land daily.u003c/pu003e u003cpu003eCabinet paint alone is durable, but the topcoat adds the hardness that lets the finish survive years of wiping and opening without going soft or staining.u003c/pu003e